


Step by Step Guide to Gel Nails Application: Everything You Need to Know
The idea of gel nails might be daunting what with having to use a light to cure them rather than letting them air dry like regular nail polish, however, once you get your head around the pretreatment which is sure to aid retention times, it’s super simple and saves loads of time!
To help you get the best out of your gel nail polish, we’ve put together a quick step-by-step guide to gel nails application.
Step 1: Pretreatment
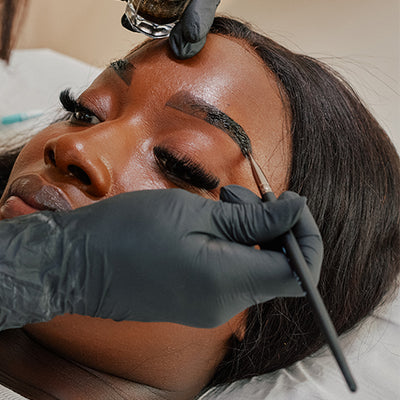
You’ll want to start by shaping your nails however you like, we’ve included a photo from The Nail Tech Diaries to help you decide on your fave.

Next, push back your cuticles and use nippers to remove the excess (be careful here, you don’t want to end up cutting your skin! and buff the nail so that it’s matt and not shiny. Be careful not to buff off too much as you don’t want your nails to become thin, all you’re doing is giving the gel polish a grippier surface area to adhere to.
Once you’ve done this, take some acetone on a cotton pad and just cleanse the nails’ surface area - any residue left on the nails will hinder both the finish and the longevity of your nail polish, and any oil on the surface of the nails will cause the gel polish to lift immediately.
Step 2: Base Coat
Base coat is a must! Not only does it prevent the pigments in your gel polish from staining the nail, it acts as a kind of glue to stick the pigment coats to your nail - if you’ve ever touched your cure base coat before adding your pigment (I wouldn’t recommend doing this if you can help it, as you may end up wrecking the overall look of your finished set) you’ll probably have noticed that it’s still a little bit sticky to the touch. Make sure your layer of base coat is quite thin to ensure it dries properly and evenly.
Step 3: Colour
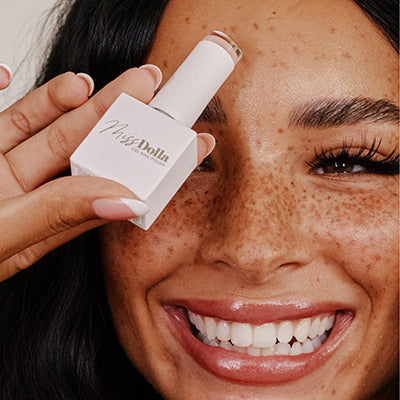
Apply your colour like you would any normal nail varnish. With gel nail polish though, be extra careful not to touch the skin. Start a little bit further up the nail, away from the cuticles and push it back towards them to help with this - if you do get any on the skin, just use your cuticle pusher to scrape it off of the skin to ensure it’s not let there when you come to cure the polish. Try Miss Dolla gel polish - Miss Dolla brand offers a great selection of colours suitable for any occasion!

When you’re applying your gel nail polish, make sure to apply it in thin layers so that it is able to be fully cured when you pop your hands under the lamp.
Apply 2-3 layers, depending on the colour’s pigment, and cure each for as long as the manufacturer recommends - usually for pigmented coats this will be 30 seconds to 1 minute.
Step 4: Top Coat
Apply and cure your top coat in the exact same way, careful to cover all of the coloured pigment so that your polish won’t fade away too quickly. Again, apply your top coat in a thin layer and be careful not to get any on your skin.
Step 5: Finishing up
Once your nails are cured, wash your hands and then apply hand cream, and rub some oil into your cuticles to keep them soft and easy to manage.

As long as they’ve been applied correctly and you don’t pick at them, your gel nail manicure will easily last you for two weeks plus!