


How To Avoid Stickies When Applying Lash Extensions
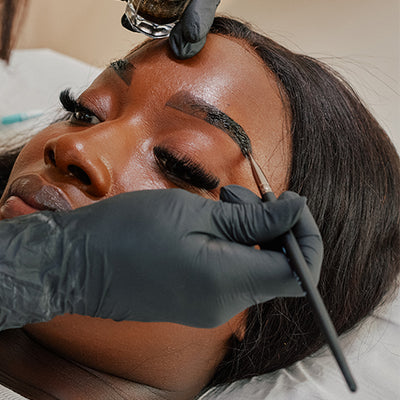
Stickies are part and parcel of eyelash extensions. Even if we do everything we can to avoid them, it's inevitable that we'll have at least one at the end of an eyelash extensions treatment. So, we need to ensure we’re setting aside at least 10 minutes at the end of treatment to check for those pesky stickies.

A ‘stickie’ is a lash industry term for one lash being glued to its neighbouring lash. They can be super damaging, and not to mention painful! If you’ve never had a stickie, first of all congratulations, because it’s unbelievably unpleasant! It will drive your client mad, and they're highly likely to want to pick and pull at it, which can damage the lashes right from the root.
We have another blog post all about the different types of stickies, which is well worth reading to help you understand exactly what you need to look for in your own work. There are 4 main types of stickies, all are equally damaging and irritating, but vary in how easy they are to spot and separate.
The good news is that there are a few things you can do to help avoid them!
Use Tape to Help Isolate Lash Layers
Once you’ve completed your pretreatment routine, use some surgical tape to gently lift the lashes back. Get your tweezers and take the bottom layer of lashes out from under the tape. Place your extensions on those lashes and tape that layer down. When you’re taping down extended lashes it’s important that you don’t press the tape down too hard. You’re just holding them out of the way, so you don’t want to squish them! Take down the next unlashed layer from under the tape and extend those. Continue until the set is completed. This will help you to avoid stickies as there will be fewer lashes in any given area. It should also help you to speed up your lash set in general, as you’ll have to spend less time trying to find a naked, natural lash.
Use Tape to Help Isolate Layers
No, you’re not seeing double - you can use this method in reverse too! This will be most effective during infills, as what you’re essentially doing is lifting up and taping back the lashes which already have extensions on them to expose the unlashed lashes in amongst them. Again, you’re going to want to just use the tape to hold the lashes out of the way. Stick down the ends of the tape, and let the middle just rest on the lashes so they won’t be squashed.
Lash Across Both Eyes Evenly
This will also help ensure symmetry across your work. When you're doing this, you give the glue on that extension time to cure before the lash next to it is pushed up against it. Attach your extension to the last lash on the right eye, then move to the left. Go back to the right, then to the left. Continue this until you have all lashes covered. Ideally, you should also leave a gap of about 7 lashes between the ones you’ve covered, to really help avoid squashing lashes into the glue and causing stickies. Work in your lash map sections to create a sort of ‘lash skeleton’ as well. This will help you stick to your lash map. You may also find this could work well in the unlikely, but still possible event of your client having to leave half way through their appointment, so they’ll still have a set that isn’t super one-sided!
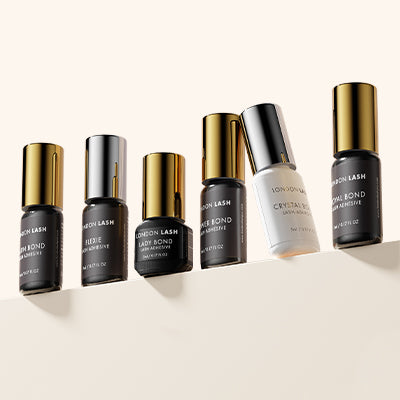
Don’t Use Too Much Lash Glue
This is pretty self-explanatory. You don’t want a massive blob of glue on the base of your extension, as the more glue that’s there, the more chance there is of that glue sticking to its neighbours. Try not to use a scooping motion when you dip your extensions into the glue as this will tend to pick up a bit too much. You want to slide the base of the extension into the glue, and slide it slowly back out to get the perfect amount.

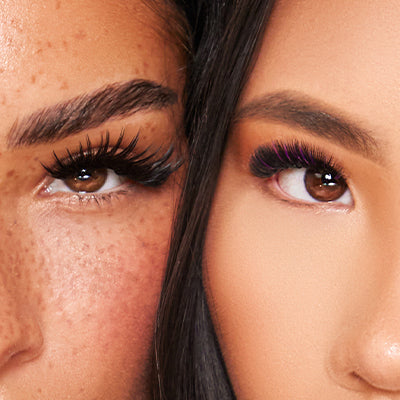
Make Sure Your Attachment is Good
If you have criss-crossed fan bases, extensions that are sitting raised from the natural lashes, or sit across them at an angle, you’ll have more stickies in your work. For the best results, the lash extensions need to be flush against the natural lash. We have another blog post with some visuals that might help with this if it’s something you’re struggling with, along with top tips from London Lash Master Karolina.
How to Separate Stickies
‘But I’ve done all of the above steps! I don’t have any stickies!’ Okay great! But we should check anyway, because they always sneak in!

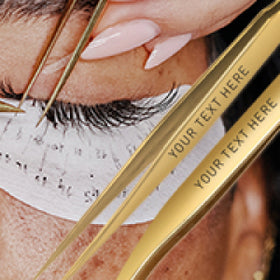
First, you’re going to take your isolation tweezers and check between the layers from bottom to top to make sure no lash is stuck to the lash underneath it. This is the MOST common way that baby lashes get stuck to extensions, and the easiest kind of sticky to miss! If you come across a sticky, use both pairs of tweezers to separate it. You’re going to hold one lash/extension with your isolation pair, and then gently peel apart the other lash/extension from it with your other pair. This is often called the ‘banana peel’ method. If you’ve been doing a volume set, you might find it easier to have a second pair of isolation style tweezers for this, as it’s a bit easier to grab little fiddly things with them!

Next, you’re going to go through lash by lash, and separate any stickies that are next to one another. Again, you'll be using both pairs of tweezers to separate them with that banana peel method described above.
Something that will make your life much easier when checking for stickies is good lighting. Having good quality, bright, adjustable lighting will help you to see and separate stickies without causing any eye strain. So it’s well worth making the investment!