


Educators Club


6 Tips For A Longer Lasting Gel Manicure


Lifting, Scuffing & Chipping: Not on Your Watch!
If you are a fan of a high-shine finish that stands the test of time, but find your gel polish often chips or lifts at the side walls, a professional-grade gel manicure is about to become your new obsession. While gel technology has been around since the 1980s, early formulas and UV lamps were notoriously temperamental, leading to a brief disappearance from salons before the "soak-off" revolution turned it into the global phenomenon it is today.
Modern gel nails are incredibly accessible, with entry-level UV lamps and DIY kits widely available online. However, many users struggle with longevity because they treat the process like a standard lacquer application.
Gel nails are so accessible today, with UV lamps available on Amazon for as little as £12!

Despite the familiar bottle and brush, gel polish has a sophisticated chemical formula that requires a specific scientific approach to bonding. Approaching it like a regular polish might look good for a day, but it won't yield the 3-week retention that makes gel so valuable. If you want to know how to make gel nails last longer, the secret isn't just in the painting—it’s almost entirely in the prep and the "capping" of the nail.
Tip 1: Cuticles
Properly pushing back your cuticles and clearing the "true cuticle" (the thin film of skin on the nail plate) is paramount for retention. If gel polish is applied over even a microscopic amount of skin, it will cause the product to lift as the nail grows, tempting you to pick and peel—which leads to thinned, damaged natural nails. Use a professional pusher to tidy the nail bed, and if necessary, carefully nip away any dead, protruding skin to ensure a clean, "flush" application area.
Tip 2: Gently Buff the Nails
Using a fine-grit buffer (around 180/240 grit), gently remove the natural shine from the nail plate to create "grip." You aren't trying to thin the nail; you are simply removing oils and smoothing out the surface so the base coat has more surface area to cling to. This mechanical bond is what prevents the gel from peeling off in one piece after just a few days.
Tip 3: Apply acetone or Nail Primer
After buffing, use a lint-free wipe soaked in pure acetone or a dedicated Nail Dehydrator to cleanse the plate. This step is vital to ensure the nail is completely free from dust, natural oils, and moisture which act as barriers to the adhesive bond. Following up with a high-quality Nail Primer will act like double-sided tape, significantly increasing your manicure’s lifespan.
Tip 4: Apply thinner layers
Resist the urge to apply thick coats for "better coverage." Thick layers block UV light from penetrating to the bottom of the gel, leading to an "under-cured" and rubbery finish that peels instantly. Apply thin, even coats, and—most importantly—always "cap the free edge" by running the brush along the very tip of the nail to seal the gel; this creates a physical barrier against daily wear and tear.

Tip 5: Check the Instructions
Every professional gel formula is calibrated to a specific wavelength and duration, usually ranging from 30 to 60 seconds in an LED lamp. Always check the manufacturer’s instructions for your specific brand; under-curing leads to chips and potential allergies, while over-curing can make the gel brittle and prone to snapping.
Tip 6: What to Avoid Afterwards
Post-application care is just as important as the prep. The chemical bond is still "settling" shortly after you leave the lamp, so avoid submerging your hands in very hot water, saunas, or steam for at least two hours after your manicure. Heat can cause the natural nail to expand and contract, which is a leading cause of early-stage lifting.
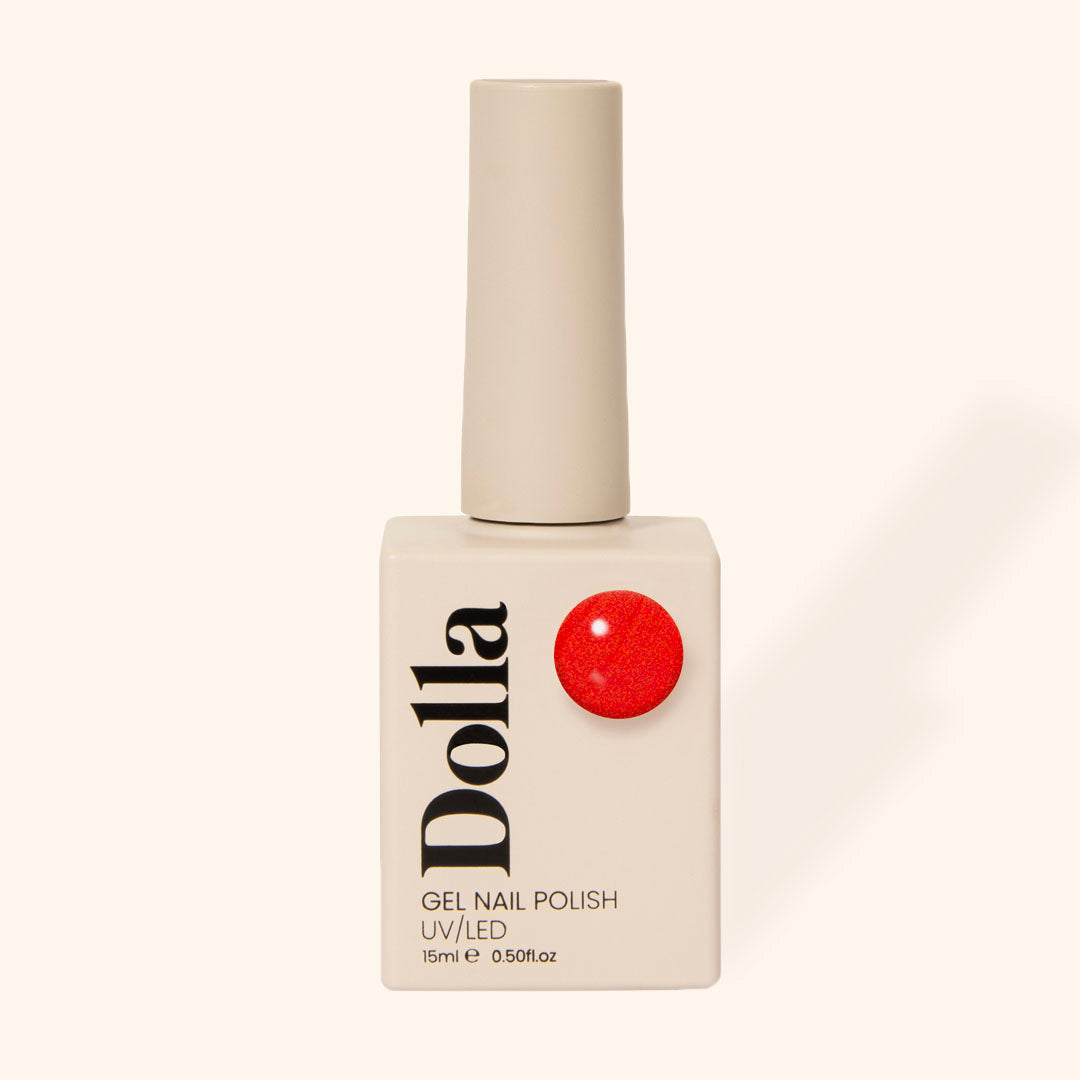
Check out these featured products

Sale
