


Educators Club


How to Achieve Different Nail Shapes


A Complete Nail Shaping Guide for Nail Technicians
One of your foundational skills as a Nail Technician should be the ability to create various nail shapes. However, sometimes it can be harder than it looks to achieve the perfect shape. This guide will walk through the most common nail shapes, catering to the diverse preferences of your clientele. Whether you're refining your skills or exploring new techniques, Dolla Nails Pro has you covered! Let's dive into the art of transforming nails into stunning statements of style.

Understanding Nail Shapes
Nail shapes can dramatically alter the appearance of one's hands and are often chosen based on lifestyle, fashion preferences such as nail trends, and of course nail strength. Familiarising yourself with various shapes like Round, Square, Oval, Almond, Coffin, and Stiletto is crucial, especially if you want to appeal to a wider range of clients. Each shape requires a different technique and approach, and understanding the nuances will help you advise your clients better.
Round Nails
Technique: Round nails are ideal for clients who prefer a natural look or have shorter nails. To create this shape, start by clipping the nails to the desired length. File the sides of the nails in a straight line and then gently curve the tips in a semicircle. The key is to create a soft, rounded edge that mirrors the natural curve of the cuticle.
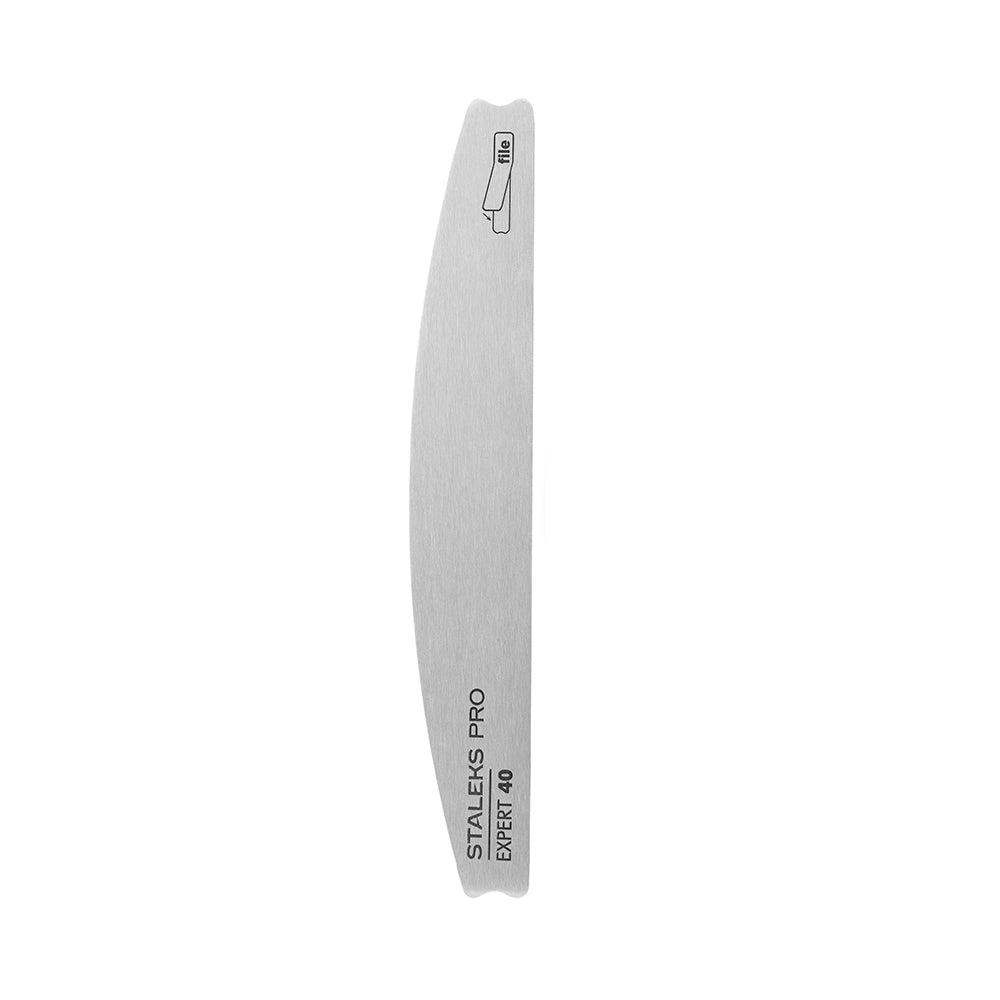
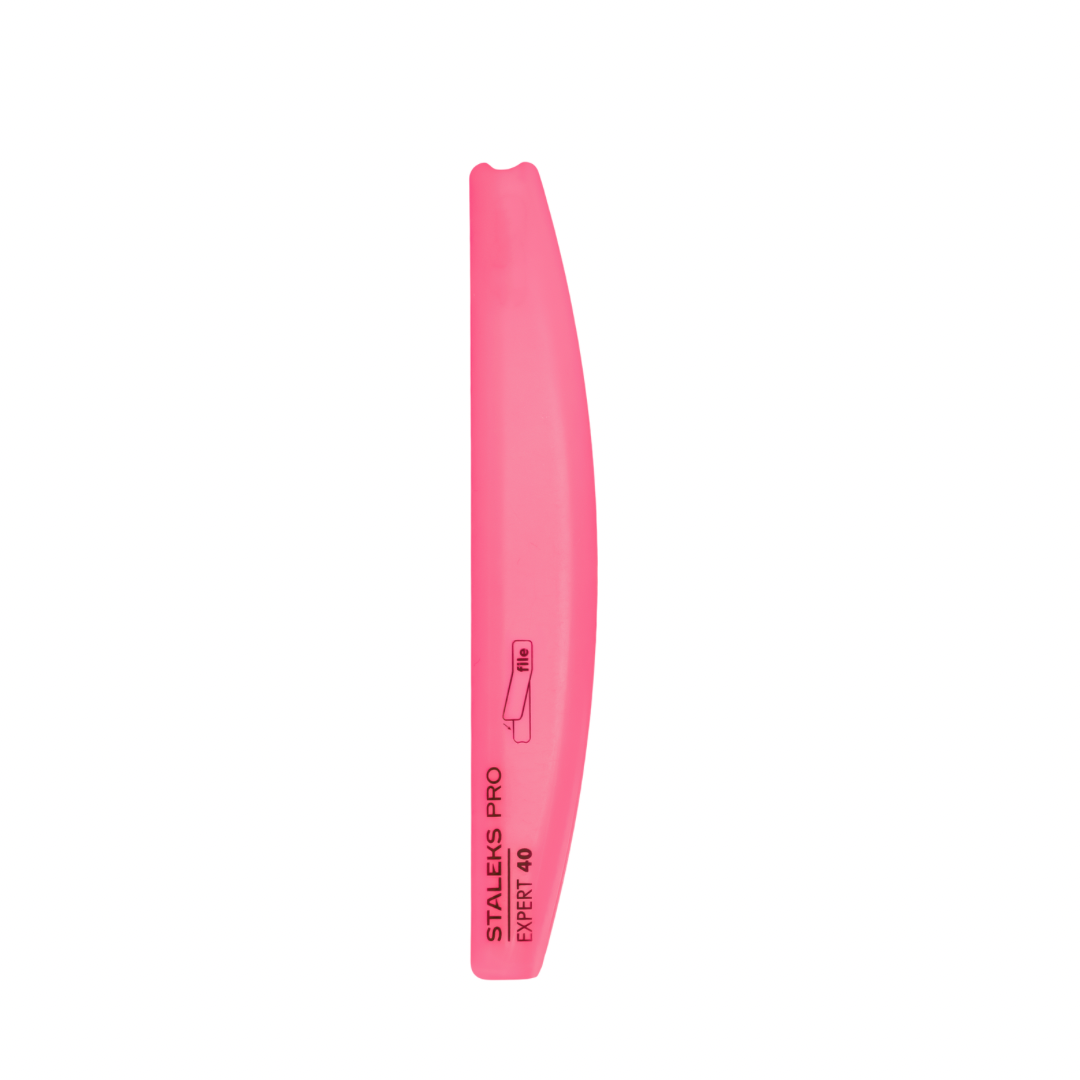
Tools: A fine-grit nail file is essential for a smooth finish.
Tips: Ensure the roundness is symmetrical on both sides. This shape is excellent for nail health, as it prevents snagging and breaking, so if a client has a hands-on job or is prone to snapping their nails, this is a great choice!

Square Nails
Technique: This shape is popular for its modern look and works well on longer nails. After trimming the nails to the desired length, file the sides straight and perpendicular to the nail bed. Then, file the tip straight across to create a square edge, but be careful to maintain the sharp corners. You may also be asked for a ‘tapered square,’ which is very popular. The technique is the same, but the sides are filed further than a standard square to create a very subtle taper, creating a narrower finish.
Tools: A straight-edge nail clipper and a coarse file for shaping, followed by a finer file for smoothing the edges.
Tips: Square nails can make the fingers look shorter, so they're best suited for longer fingers or larger nail beds. Due to the sharp corners, square nails can be prone to catching, so if this is a common problem for your client, it’s best to steer away from this shape.

Oval Nails
Technique: An elegant and classic shape, oval nails are a universally flattering choice. File the sides of the nails straight like you would for square nails, then gently round off the tips in a more elongated shape than round nails. The goal is to create an egg-like shape.
Tools: A fine-grit file is best for achieving a smooth curve.
Tips: Regular maintenance is key to keeping the perfect oval shape. This style is ideal for clients looking for a feminine look that elongates the fingers.

Almond Nails
Technique: Known for their elegance, almond nails are tapered on the sides and come to a slightly pointed, rounded peak. File the sides towards the centre and then round off the tip. This shape is super flattering and adds a touch of sophistication.
Tools: A fine-grit file for shaping and a buffer for smoothing the edges. Clippers are also useful if you’re changing from a square shape, or if using plastic tips to easily clip away the sides.
Tips: Almond nails are not as strong as other shapes, so advise clients about careful maintenance. This shape is perfect for clients seeking a chic, refined look and is very on-trend!

Coffin / Ballerina Nails
Technique: Coffin nails are a statement choice. Start with a square or almond base, then taper the sides towards the end, finishing with a straight tip. The result is a narrow yet blunt tip resembling a coffin or ballerina slipper.
Tools: A coarse file for the initial shape and a fine-grit file for refining the edges.
Tips: This shape requires length and strength, so it's often achieved with acrylic or builder gel. Remind clients that this bold shape needs regular upkeep, as it will become blunt easily.

Work by @sherlinanym
Stiletto Nails
Technique: For a dramatic look, stiletto nails are unmatched. File the sides to a sharp point at the tip, ensuring symmetry. This shape is all about length and a daring point!
Tools: A coarse file for the initial shaping and a fine-grit file for finishing. Again, clippers can be useful for taking the sides in.
Tips: Stiletto nails are prone to breaking, so they're often created with acrylic for added strength. They're perfect for clients who want to make a bold fashion statement.

Health and Safety
Regardless of the shape, the health of the nail is paramount. Always use sanitised tools and advise clients on proper nail care to prevent damage. Educate them about the importance of regular manicures and using quality products to maintain nail health.
Mastering different nail shapes is an essential skill for any Nail Technician. By understanding the techniques and nuances of each shape, you can provide tailored services to each client and advise what’s best suited for their individual needs and preferences. Check out our huge range of quality tools to help you achieve the perfect nail shape every time!
Check out these featured products