A Guide to Perfect Henna Brows Mapping
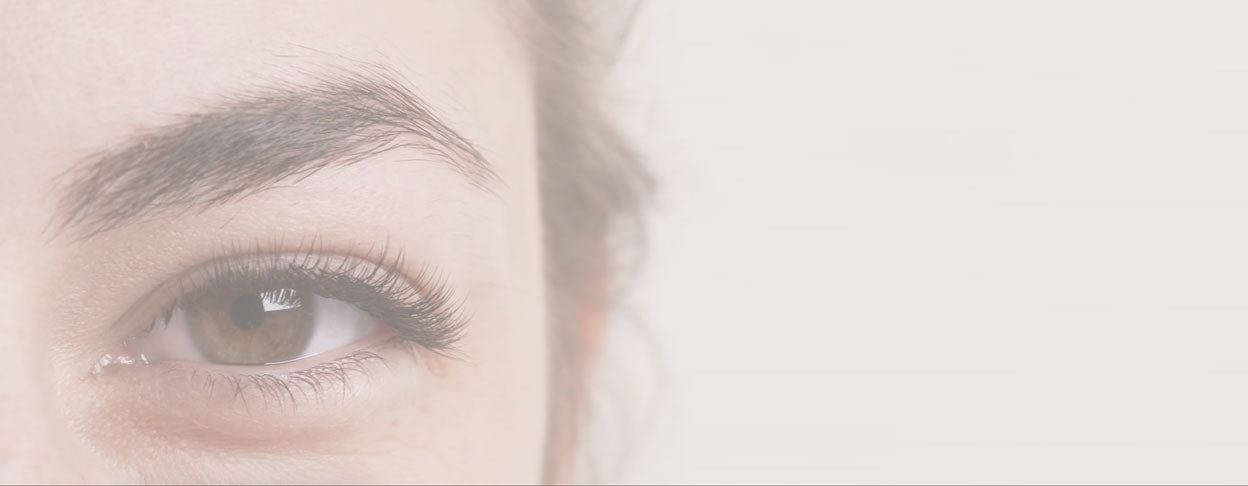

Table of Contents
How to Create the Perfect Henna Brows | A Step-By-Step Guide to Mapping Your Client’s Brows
Brow mapping is one of the best ways for you to figure out what brow shape will complement your client’s face when performing a Brow Henna or Brow Tint treatment. Since there isn’t a standard shape that fits all, factors like the shape of your client’s face, their unique facial features and personal preferences all need to be taken into account when creating their perfect brow shape. Once that is done, it’s time to map those brows!

Why is Brow Mapping Important?
Our brows help to frame the eyes and face, as well as refine the overall look. So, mapping the brows is crucial if you want symmetrical and natural-looking brows for your client. Mapping helps you to determine where the brows should begin and end, the positioning of the brow’s arch, and identifying any unevenness in the natural brow’s shape that needs to be corrected. This process is also beneficial to the communication between you and your client about the treatment and the results. It allows your client to see the asymmetry of their natural brows, understand the corrections you will be making, and consult with your client about what results they would like to achieve from the treatment.
How Do You Map Brows?
There are several methods you can use for mapping your client’s eyebrows. Experienced brow techs usually opt for the pre-pencilled thread method, and use calipers for their measurements when trying to create symmetry while shaping the brows. However, if you have a knack for maths and would like to achieve the most accurate symmetry, you can use the golden ratio to calculate the best balance for your client’s features and brow shape.

Image courtesy of InLei® Italy
The Thread Method
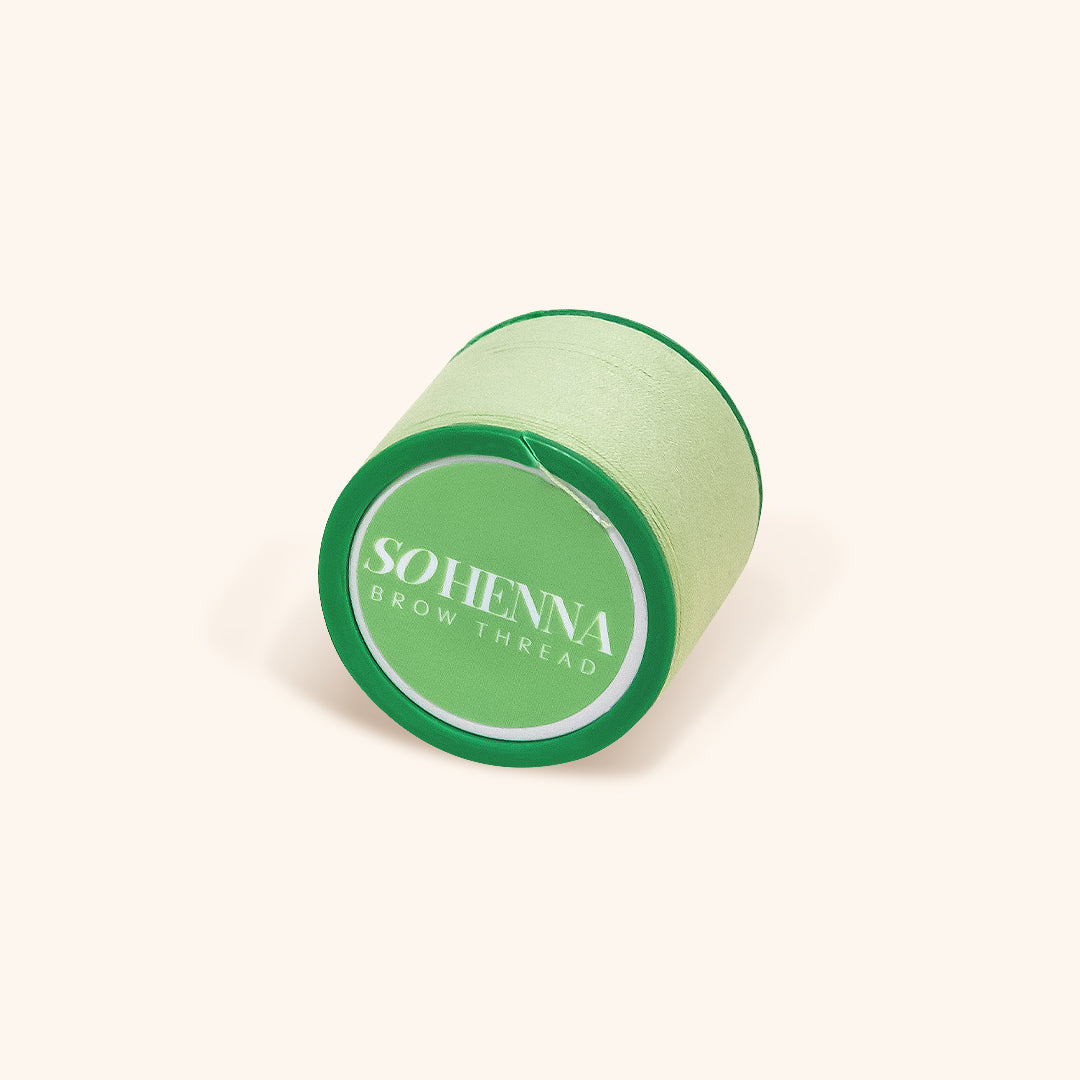
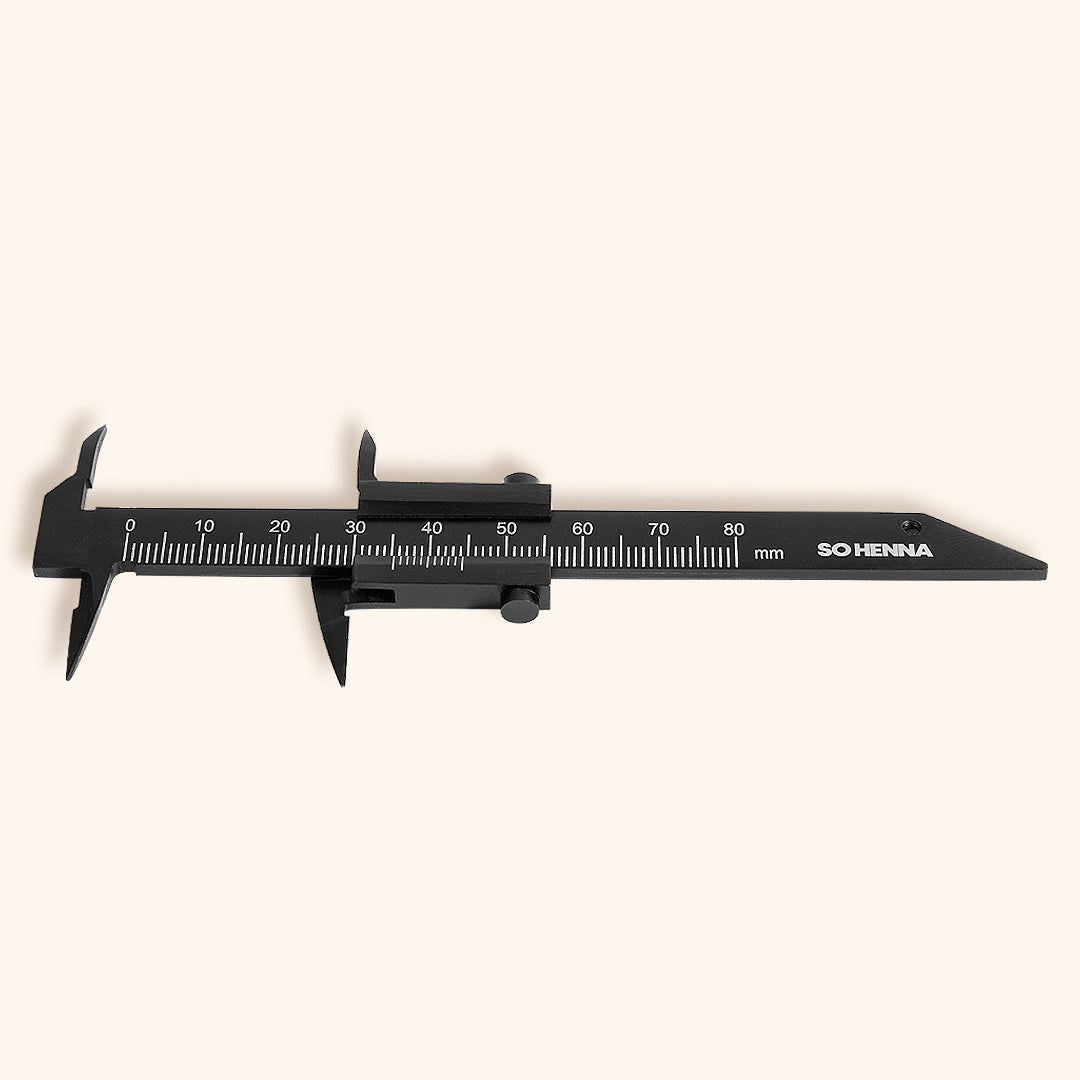
This method is probably the most efficient way to map the brows. For this technique, you’ll need some pre-inked eyebrow mapping thread to create the outline of the new brows for your client, and calipers for their brow measurements. Follow our 7 step guide below for the perfect brows!
Step 1
To begin the mapping process, you’ll need to assess your client’s natural eyebrow shape. Measure their brows using a caliper to determine where it begins, the arch and the tail. You should then mark these areas using an eyebrow pencil.
Step 2
To find where the brow shape you’re creating should begin, place the mapping thread on the side of the nostril, and draw a straight line upwards. This will form line A, showing you exactly where the start of the brow will lie.
Step 3
Line B will establish the length of the brow and tail placement. This line runs from the outer part of your client’s nostril, along the side of the eye, up to the end point of the brow, marking the tail.
Step 4
The arch of the brow will be decided by line C. This line starts from the outer corner of your client’s nose, runs slightly diagonally up over the eye, in line with the outside of the iris, and to the arch of the eyebrow. This point is where the arch should be the tallest. With these four steps, you will have determined the overall form of the brow shape you want to create.
Step 5
This step will create the body of the brow. At this point, you should consult with your client about how thick they would like their brows to be. To form line D, at the bottom of the brow, you will place your thread on lines A and C until you reach the arch. Line E will be formed by crossing lines B and C, starting from the arch of the brow and down. This will ensure the tail of the brow is precise. Draw similar lines at the top of the brow by connecting the vertical markers you made previously, with horizontal lines parallel to the lines at the bottom of the brow.
Step 6
To make sure you have created a natural looking eyebrow shape, you should use an eyebrow pencil to fill in any gaps or sparse areas.
Step 7
Finally, you should check if any further adjustments need to be made, to ensure your client’s brows look even. Try to examine their symmetry and balance from different angles. You could also take a picture of the brows to make it easier to spot imperfections in the symmetry and positioning, before you start any treatment.

Image courtesy of InLei® Italy
The Golden Ratio
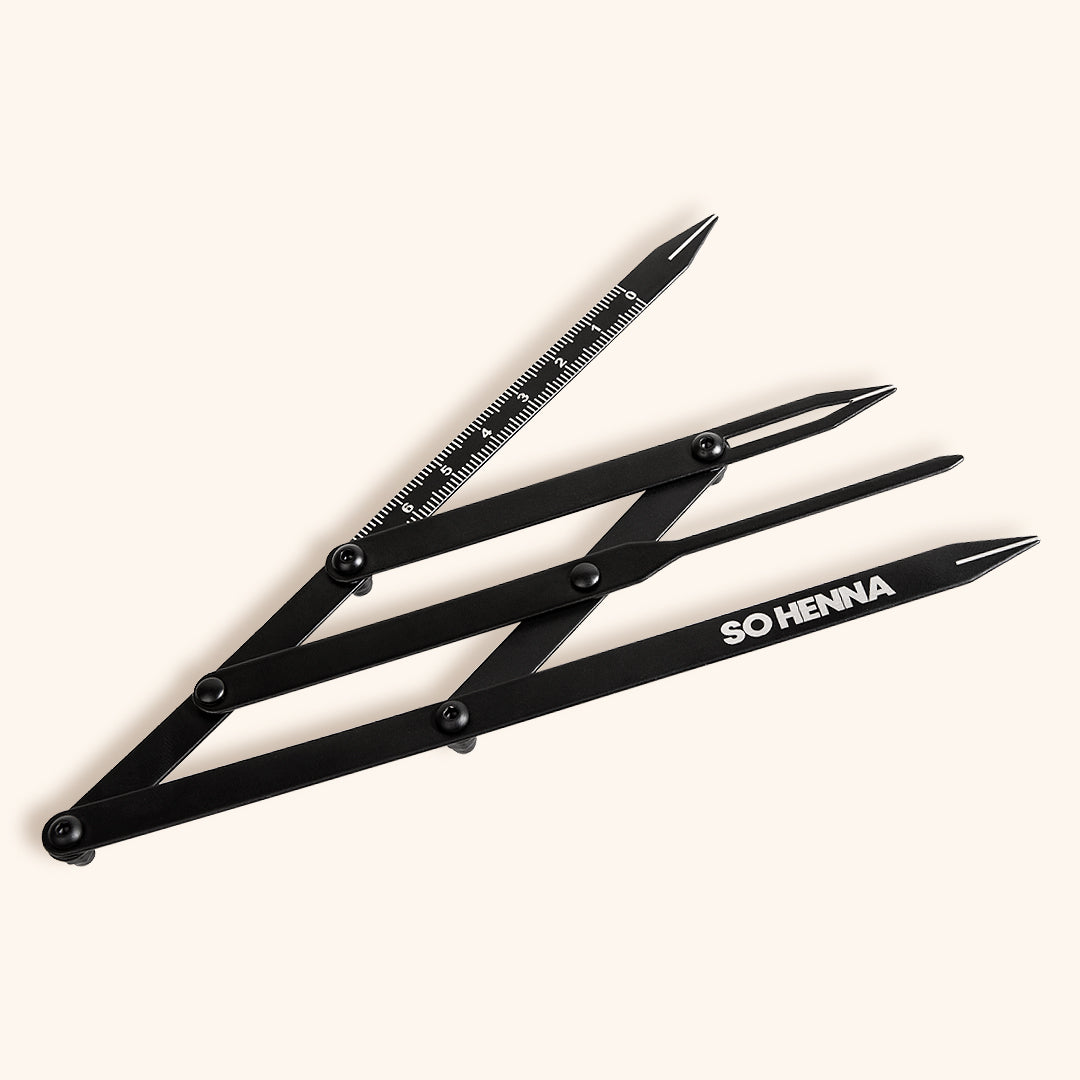
This method is where brow mapping gets a bit more technical. The golden ratio was first used by artists and architects during the European Renaissance to map their masterpieces. This special number is often symbolised by using the PHI letter of the Greek alphabet. The golden ratio can be found by dividing a line into two parts, so that: the longer part divided by the shorter part, is also equal to the whole length divided by the longer part. Here is the golden ratio as an equation: a/b=(a+b)/a=phi. This divine method can also be applied to brow mapping. Using your Golden Ratio Divider, you can calculate the balance and symmetry of your client’s facial features to help you create the perfect henna brows for enhancing their appearance.

Now that you have designed the perfect brow shape to suit your client’s face, you can clean up those brows by tweezing or trimming any hairs that stray outside of the lines you have created. Mapping the brows also creates the perfect guidelines for henna brows and tinting treatments!
Check out these featured products