How To Create Lash Fans For Volume Lashes
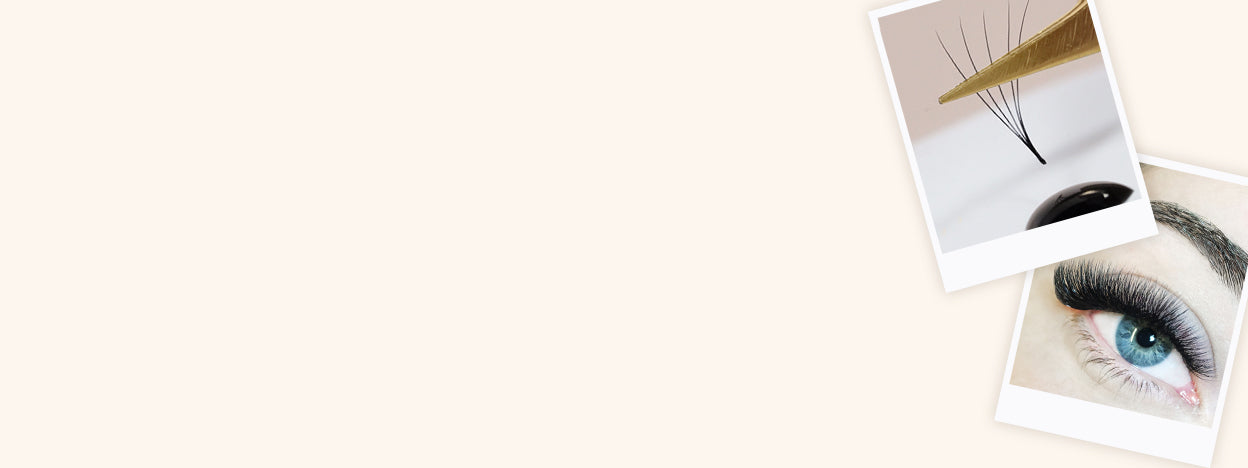

Table of Contents
3 Ways To Create The Perfect Lash Fans For Russian Volume Lashes
If you're looking to step up your lash game, mastering different fanning methods is key to giving your clients those show-stopping, Volume Lashes they dream of. Here are three lash fanning techniques that can help you create the perfect lash fans. Whether you're a newbie to Volume Lashes or a seasoned Lash Tech aiming to polish your skills, these methods will help you create beautiful, voluminous lashes in no time. Once you’ve found your perfect fanning technique, you’ll be able to create perfect fans time and time again! So... what exactly makes the perfect lash fan?

Creating Symmetrical Lash Fans
The first element to consider when creating your lash fans is their symmetry. This is where the space in between every single lash is equal. It’s important to note that depending on the size of your lash fans, the spaces between the individual lashes will vary. For example, if you're creating a lash look using 2D fans, there will be a bigger space in between the individual lashes, whereas a look created using 3D fans will have slightly smaller spaces between them, 4D even smaller, and so on.
The spaces between the lashes in your lash fan will indicate if the fan is narrow, normal or wide. Most importantly, if the opening of the fan is not symmetrical, this can create a wonky or closed fan (every Lash Tech's worst nightmare!) If you were to create a 5D lash look and 3 of the lashes in the fan were closed, the fan would look out of place amongst all of the other symmetrical 5D fans, and will result in a 'gappy' lash look rather than the full, gorgeous volume you were aiming to achieve.

Creating The Best Base For Your Lash Fans
The next element you need to consider when creating your lash fans are the bodies of your fans. They should make up 2 thirds of your fan, whereas the base of the lash fan should make up that other 1 third. Remember, the base of your lash fans should always be tapered, otherwise the base will split and not attach properly to the natural lashes, causing poor lash retention, stickies and discomfort for your clients!
How Big Should The Lash Glue Zone Be?
Another crucial element you need to be aware of when trying to create the ‘perfect lash fan' is the lash glue zone. This is situated right at the base of the lash fan. It represents the 2mm section of base that should be dipped into your eyelash glue before application. Anything less than 2mm will not provide enough of a surface are for the eyelash extensions to adhere to the natural lashes and can cause retention problems.

How To Choose The Right Lashes For Your Clients
To ensure the safety of your clients' natural lashes when creating a set of Volume Lashes, it's important to remember to choose the thicknesses of the lashes you use for your fans based on your clients' natural lashes. You don’t want to cause any damage to your client's natural lashes by applying heavy/oversized lash fans that will weigh them down and put a lot of strain on them.
The General Rule of thumb is as follows:
| Mega-Volume sets |
|
|
|
0.05 lashes |
|
|
|
|
|
0.10 lashes |
This of course will also depend on the finish your client is looking for - you can absolutely complete a full 3D set with 0.05 lashes or a set of Wispy Lashes!
When it comes to actually creating the perfect fan, there are a variety of methods to choose from! As with learning any new skill, you may find a period of trial & error is beneficial whilst you discover which fanning technique works the best for you.

Here are our top 3 lash fanning techniques & how you can use them to create the perfect fans for your clients...
The Lonely Fan Method
This lash fanning method involves pulling the number of lash extensions that you want from the lash strip to make into a fan from the rest of the bunch and re-sticking it further along the strip. Then, using the tip of your Volume Lash Tweezers, rolling the lashes outwards to create a beautiful fan. Picking up the lash fan with a steady hand and a strong grip, dip it into your eyelash glue and affix it to the natural lash. It’s one of the most commonly used fanning techniques, and is ideal for beginner Lash Techs.
This technique creates a flatter base, making these lash fans ideal for attaching to the top or bottom layers of lashes.

The Rainbow Method
The Rainbow Method is also known as the 'rolling technique'. It’s quite similar to the Lonely Fan Method, but instead of taking your selected lashes away from the group on the strip, you'll leave them there and use your eyelash tweezers to just roll the lashes to the side to create your fan.
This method will create more of a stacked base, so is great for creating lash fans that need to be attached to the side of the natural lash.

The Pinching Method
The Pinching Method may look simple, but there’s a little bit of technical lash wizardry involved with getting them right and not ending up with twisted bases.
Begin by picking up the amount of lash extensions that you want from the strip, then place them between your thumb and index finger at the first knuckle of each, and still maintaining your grip with your lash tweezers. When the lash base is safely between your fingers, gently loosen the grip of your eyelash tweezers and at the same time pinch the base together with your thumb and finger. It’s really important that you don't to roll the base of the fan here - this will twist the base and make your fan useless. It’s called the pinching method for a reason!
If you need to open the fan a little more, wiggle with your lash tweezers and keep pinching the base with your thumb and forefinger. When you have the perfect fan, grip tightly with your eyelash tweezers, dip it in your lash glue, and attach it to the natural lash. Whilst this is one of the trickier lash fanning techniques, it's possibly the most satisfying to master and hypnotising to watch, so it's at least worth a try!
This technique also produces a stacked base, lending itself well to creating lash fans that are ideal for affixing to the side of a natural lash.

All in all, practice makes perfect, so our biggest tip of all is perseverance! Remember that certain lash fanning techniques may be difficult for you to grasp initially, but with a bit of practice they'll become second nature to you, and you'll be creating gorgeous sets of Volume Lashes like a pro in no time!
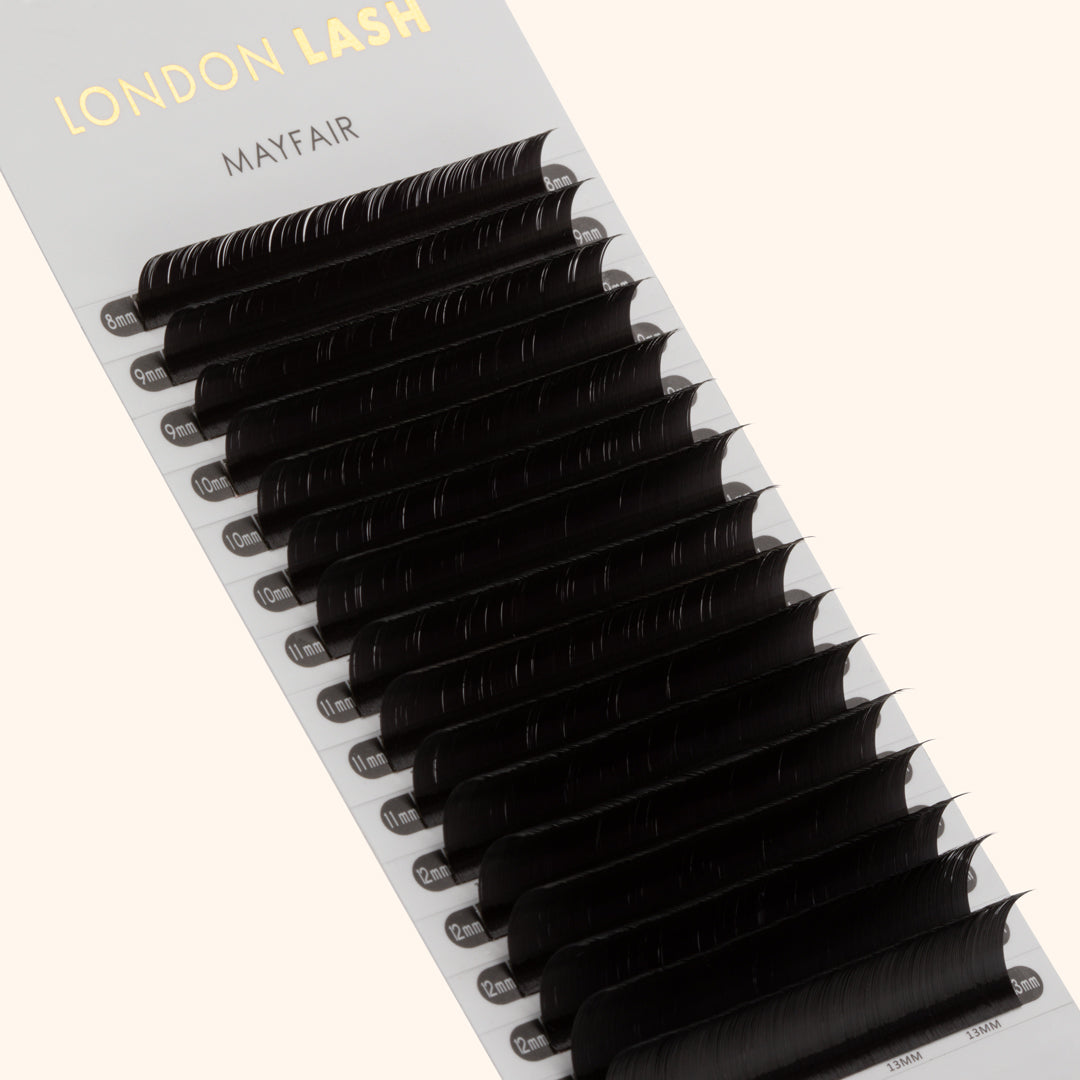
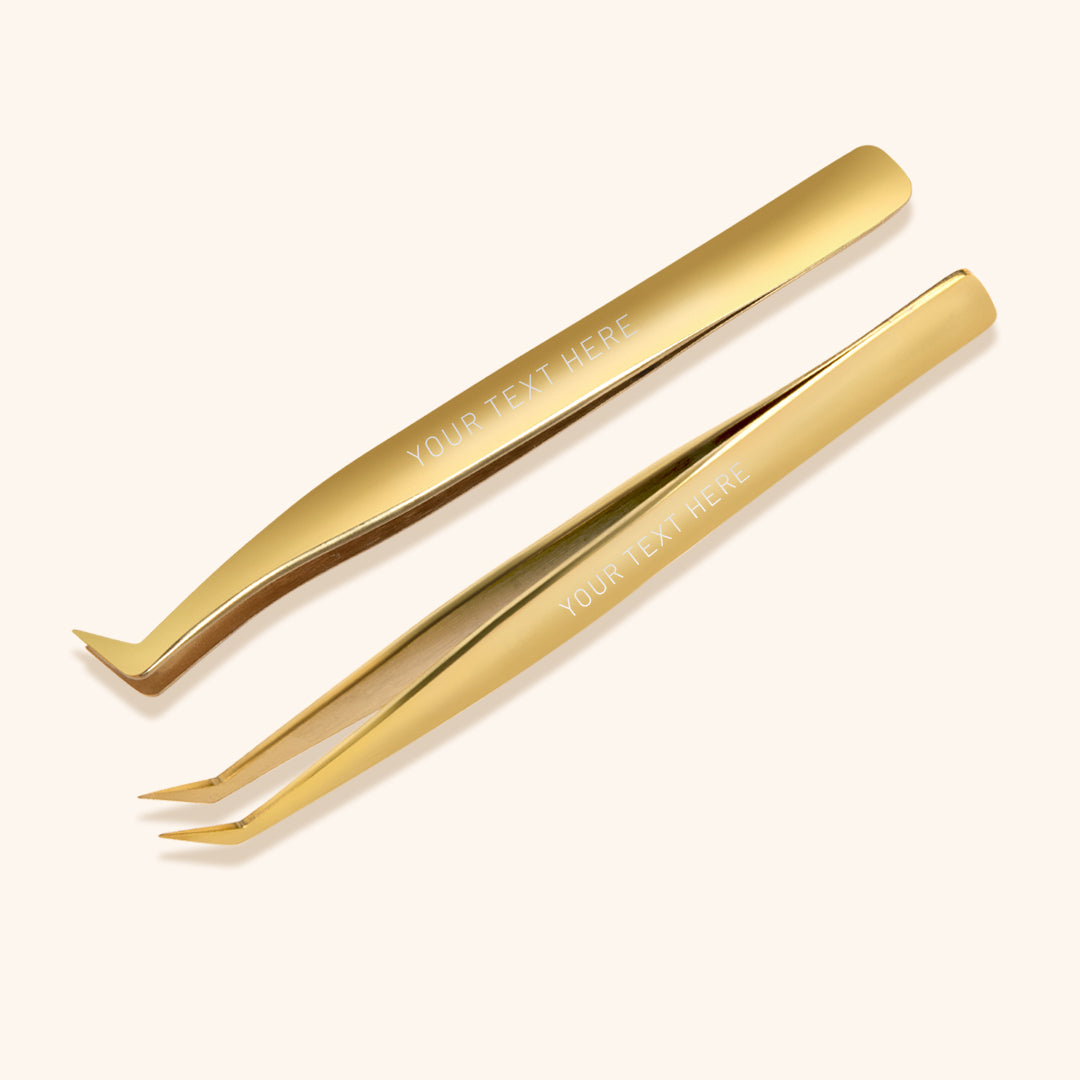
Check out these featured products