


Educators Club


Step by Step to Create Henna Brow Hair Strokes with So Henna


Step by Step to Create Hair Strokes with So Henna: The Most Natural Henna Brows
Henna brows offer a natural, long-lasting alternative to traditional tinting. For Brow Technicians looking to use brow henna to create the most natural brows possible, So Henna presents an exceptional product line to achieve stunning, precise henna brow hair strokes. This blog post will guide you through the process step by step, ensuring that you can provide your clients with the best results.
The Appeal of Henna for Brows
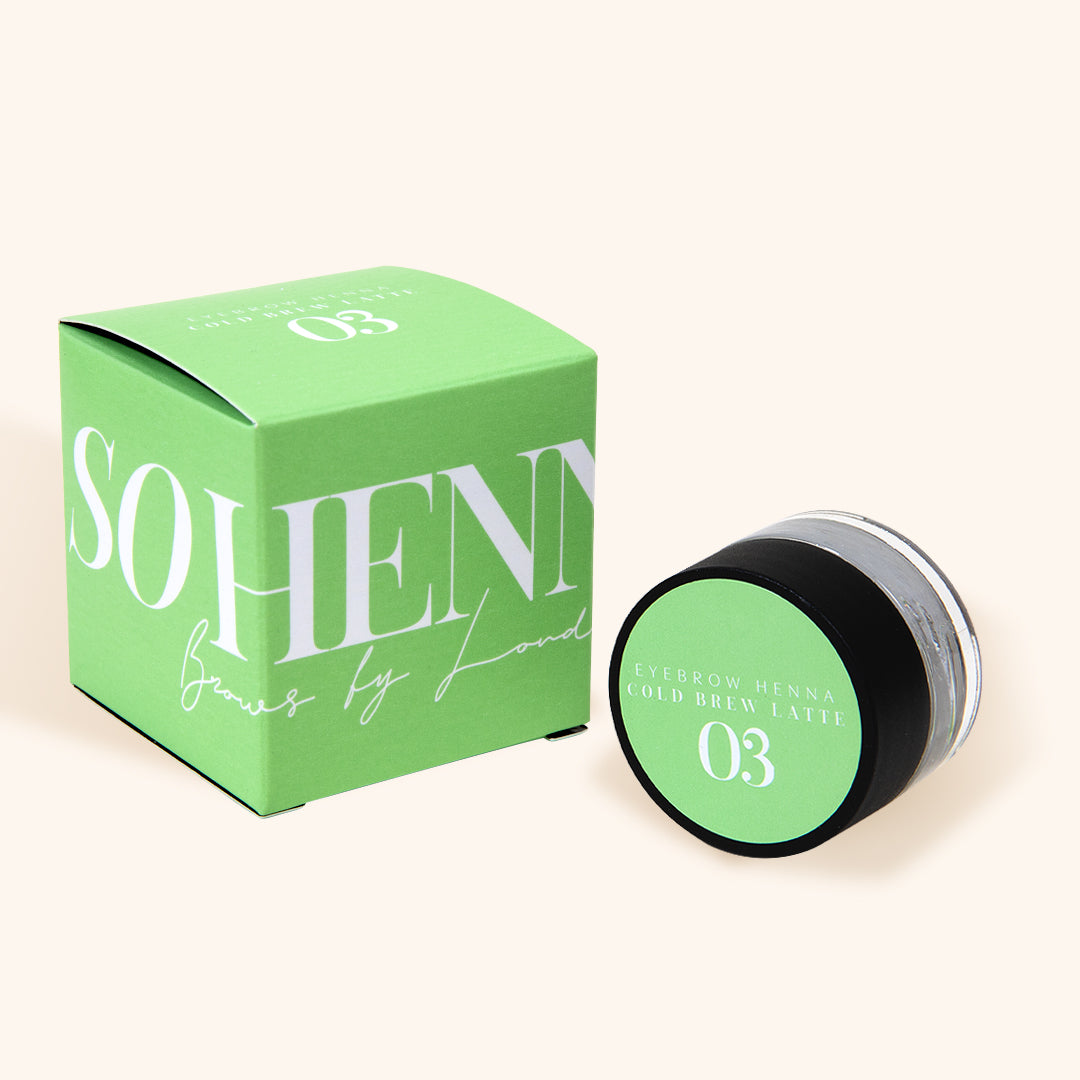
Henna has been used for centuries to dye skin, hair, and fabrics. Now, it's making a significant impact in the beauty industry as a go-to for fuller, well-defined brows. Unlike regular tints, henna stains the skin beneath the brow hairs, creating an illusion of depth and fullness. So Henna products, specifically designed for brow use, offer a range of colours to suit every client's needs. Each So Henna colour is formulated to blend perfectly with any other colour in the line, making this a fully customisable and bespoke treatment.
Step 1: Consultation and Patch Test: Understanding Your Client's Needs
Before you begin the application process, it's crucial to have a detailed consultation with your client. Discuss the desired shape, colour, and overall look they want to achieve with henna brows. Always conduct a patch test at least 48 hours before the actual appointment to ensure there are no allergic reactions to the henna.
Step 2: Preparing the Brows: Cleaning and Outlining
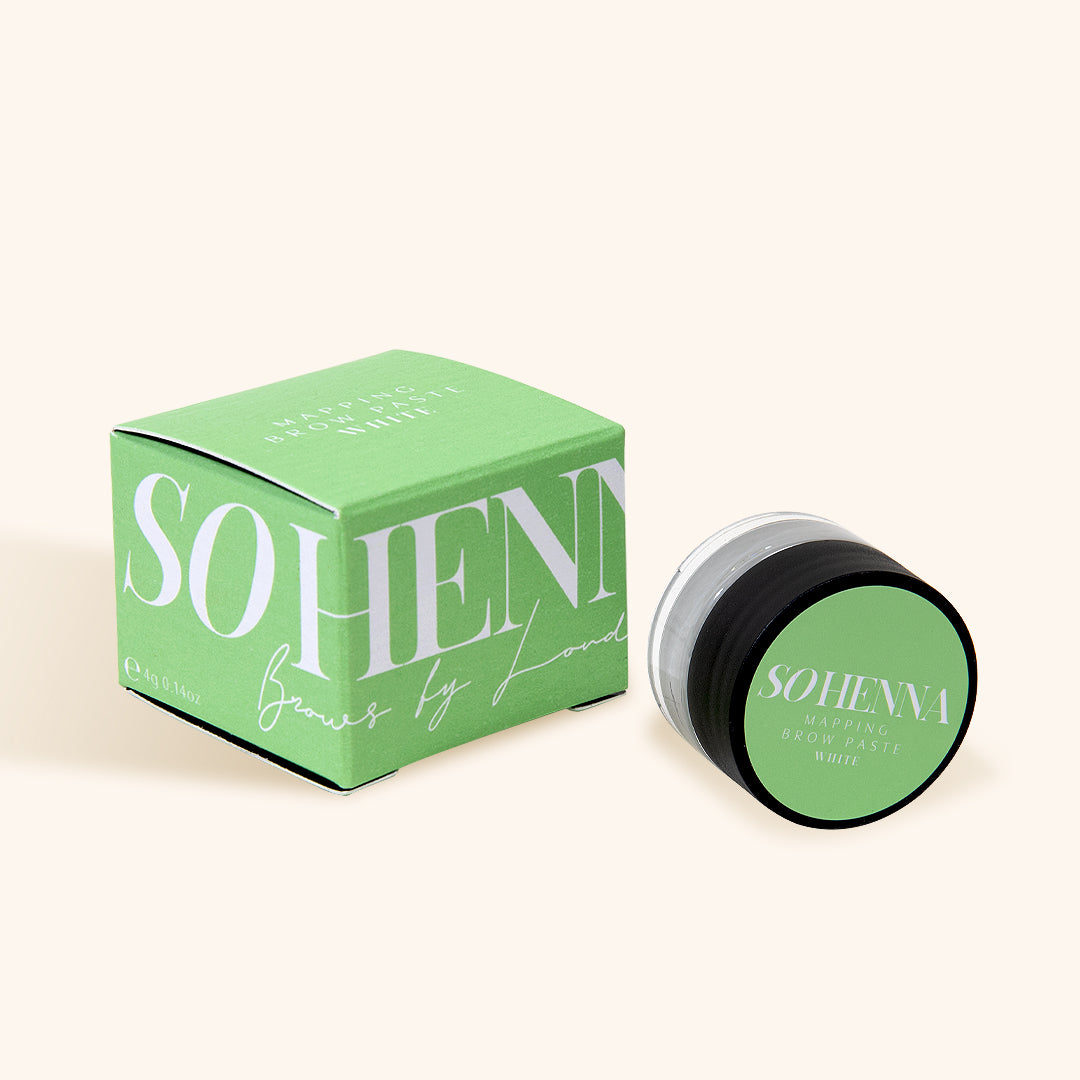
Start by cleansing the brow area with a foam cleanser, Brow Shampoo to remove any oils or makeup that could interfere with the henna's ability to stain the skin and hairs. Then, map the desired brow shape using a tool such as Brow Calipers or the Golden Ratio Divider. This step acts as a stencil for the henna application. You can also use the easily removable white mapping paste around the outline of the brow to ensure perfectly precise results.
Step 3: Mixing the Henna: Achieving the Perfect Consistency
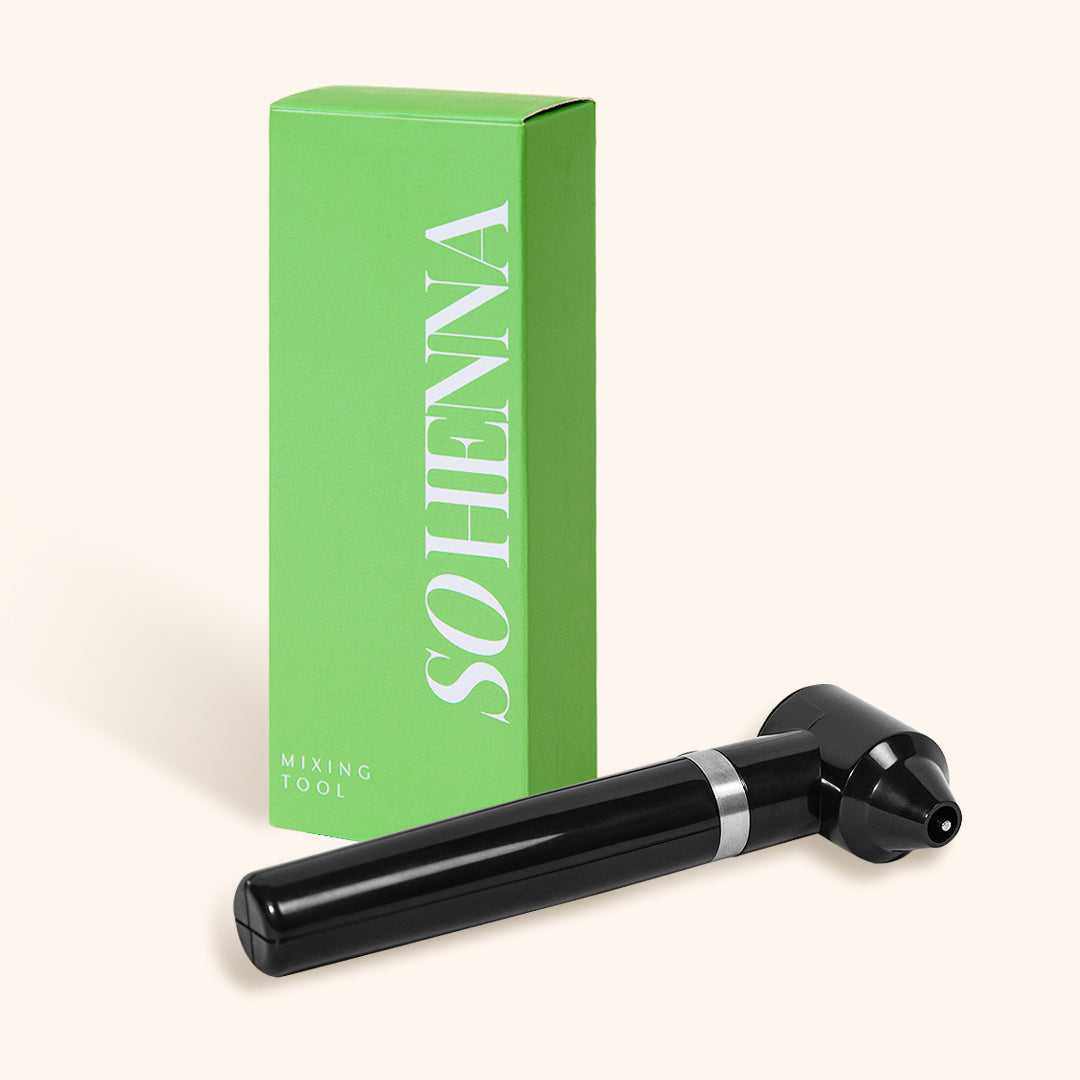
Mix the So Henna powder with a few drops of lukewarm water until you get a smooth, honey-like consistency. The mixture should not be too runny or too thick, as this will affect the precision of your hair strokes. To get a smooth consistency, we always recommend using a Mixing Tool. It can be extremely difficult to achieve the correct mixture when mixing by hand. Remember, always mix your henna in a Glass Dish, if you mix henna in metal, it can oxidise by causing a chemical reaction which will affect the colour.
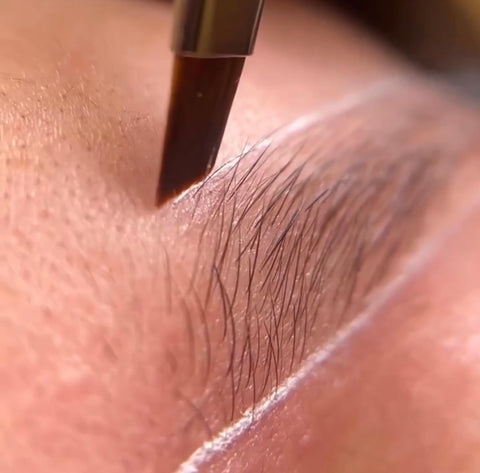
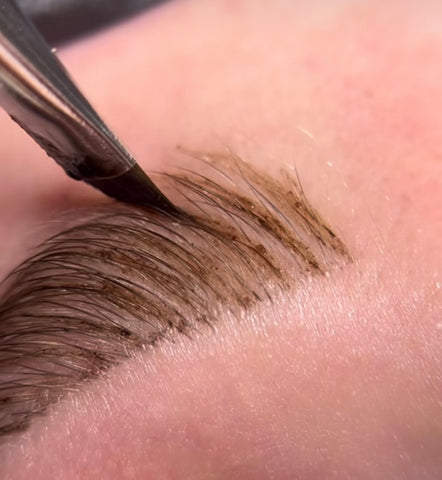
Step 4: Applying the Henna: The Art of Hair Strokes
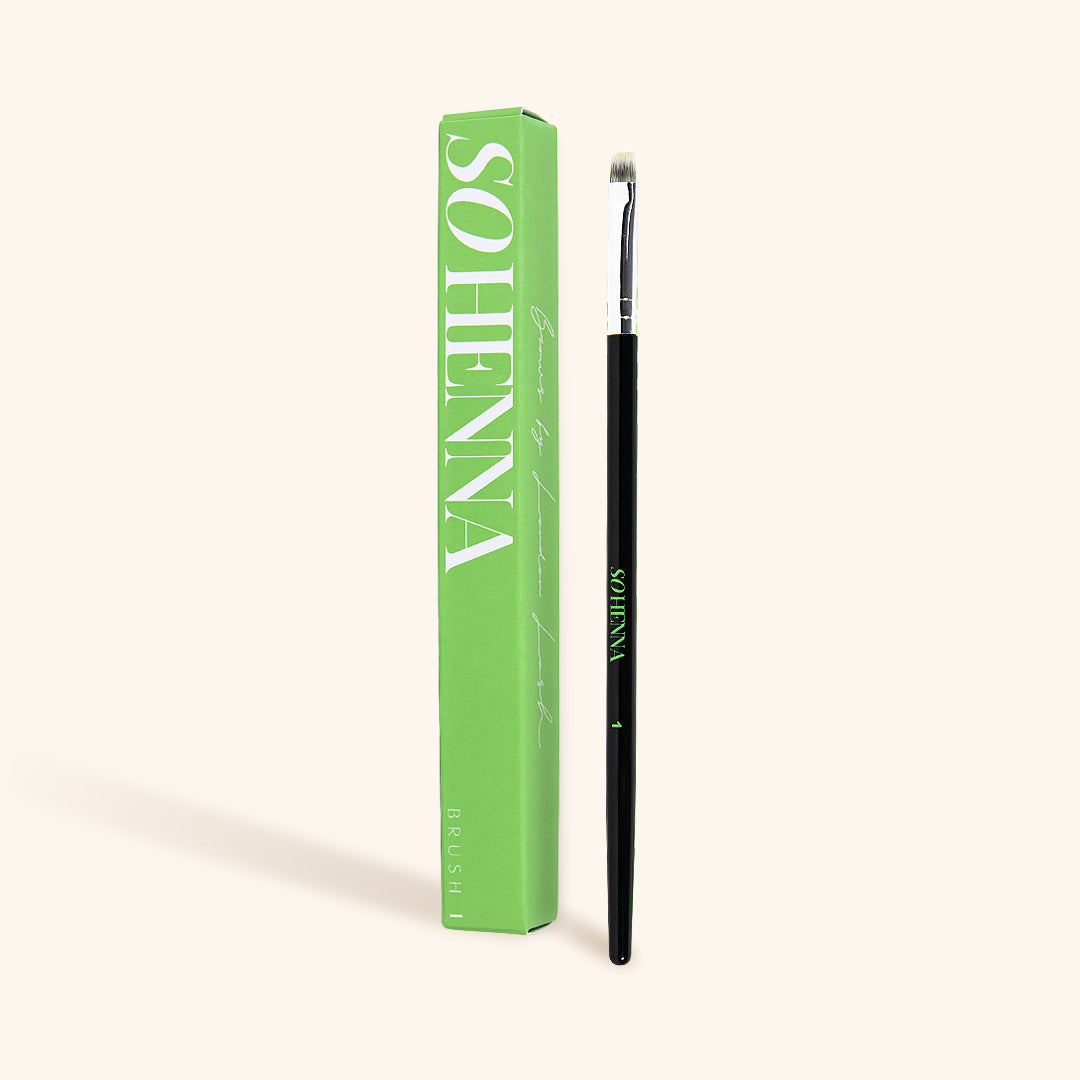
Using an angled brush, apply the henna mixture in the direction of hair growth, starting from the base of the brow. Create fine strokes that mimic the natural hairs. Take your time to build up the colour gradually, ensuring even coverage and a natural look. Remember to keep the hair strokes lighter at the front of the brow to replicate the natural fluffiness, gradually making them more dense as you reach the tail.
Step 5: Setting the Henna: Waiting for the Magic to Happen
Allow the henna to set for 10- 20 minutes, depending on the client’s desired outcome. The longer it sets, the deeper the colour will stain the skin and hair. However, always follow the guidelines provided by So Henna for the best results. If you want a much lighter front of the brow, you can remove this section a few minutes before the rest of the eyebrow.
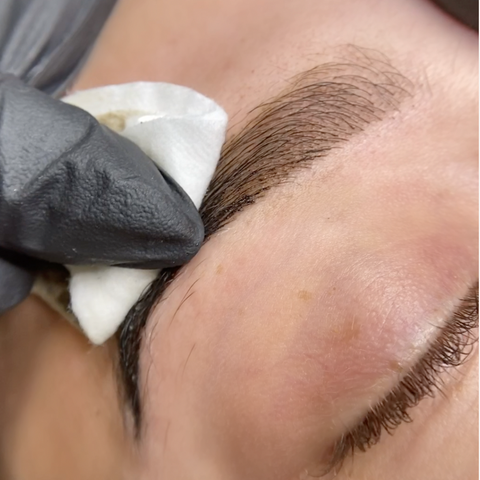
Step 6: Removing the Henna: Revealing the Results
Gently remove the henna with a damp cotton pad, wiping in the direction of hair growth. Remember to advise your clients to avoid using any oil-based products for the first 24 hours as they can remove the henna stain from the skin.
Step 7: Aftercare Advice: Prolonging the Henna Brows
Advise your clients to avoid exfoliating or using oil-based skincare products around the brows, as this can cause the henna to fade quicker. They should also avoid extreme heat in the first 48 hours, which includes sunbeds, saunas, and very hot showers. You should also recommend that your client use the So Henna Brow Oil after the first 24 hours, daily to keep their brows nourished and achieve longer-lasting results. With proper care, henna brows can last up to 6 weeks on the hair and up to 2 weeks on the skin.
Creating the perfect hair stroke henna brows requires skill, precision, and the right products. By following these steps with So Henna, you can ensure that your clients leave with beautifully defined, natural-looking brows. If you need any help with products or even tips and tricks, don’t hesitate to message us on @sohenna_official.