


Educators Club


How To Apply Eyelash Extensions To Naturally Curly Lashes

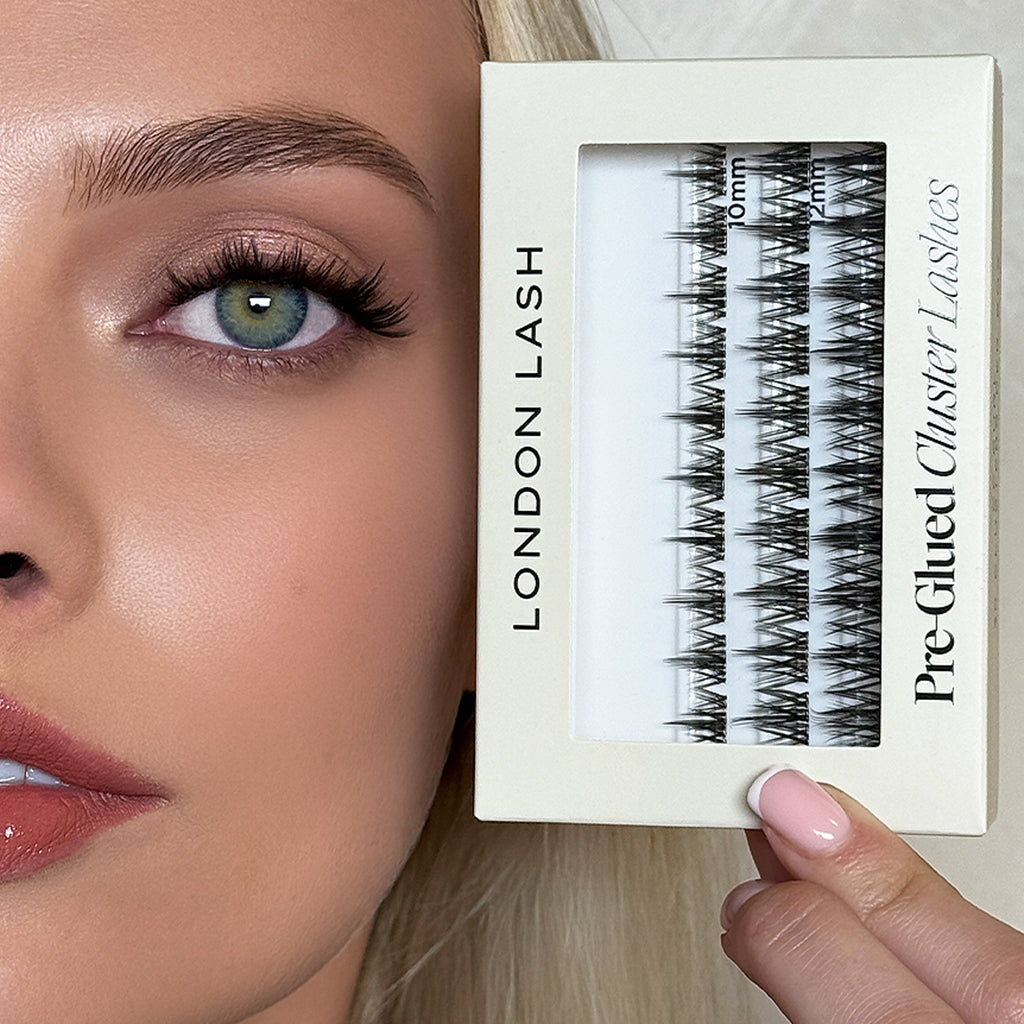
Curly Lashes 101: How To Apply Eyelash Extensions To Curly Eyelashes
We all know that every set of lashes comes with their own unique challenges and delights, and naturally curly lashes are no exception. Working on curly natural lashes can be both a joy and a challenge. But fear not, with a few handy tips and tricks up your sleeve, you'll be able to conquer any curly lash that comes your way!
Using The Right Lash Tweezers
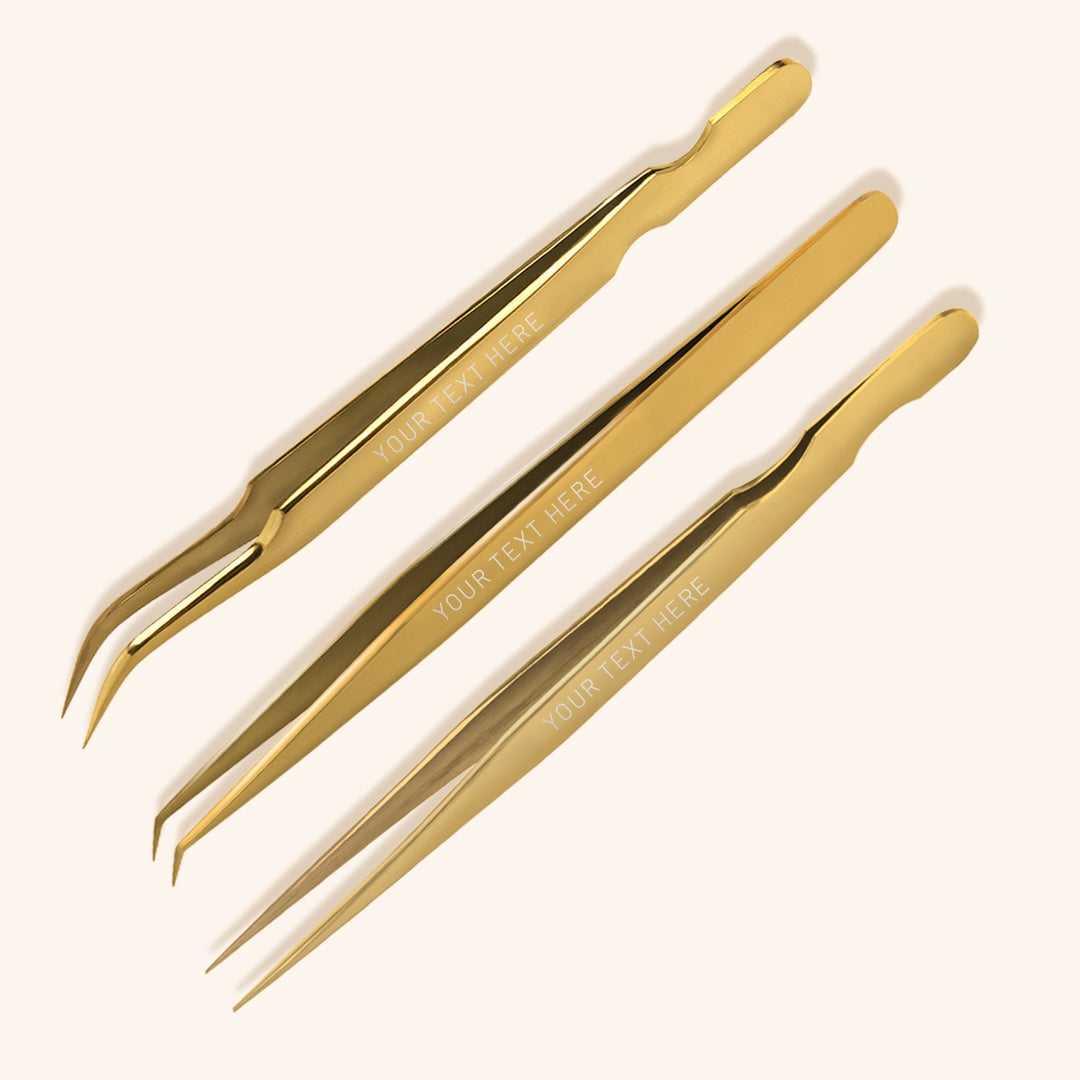
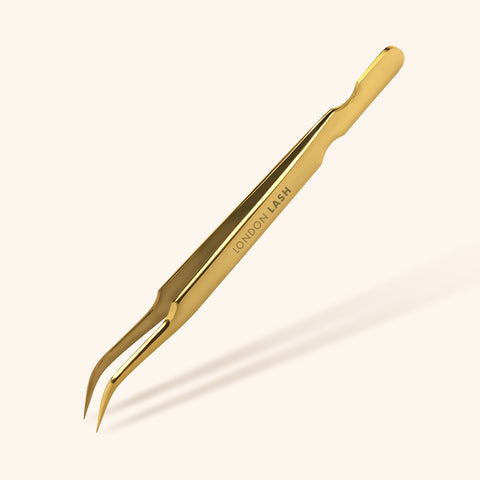
First things first, let's talk tweezers. When you're dealing with naturally curly lashes, you need the right tools for the job. So, opt for lash tweezers like our Angled Isolation Tweezers or Curved Isolation Tweezers, with their super fine tips that will help make isolating those individual lashes easier. Their curved tips are also a game-changer for manoeuvring between those curly lashes and getting them in line for application.
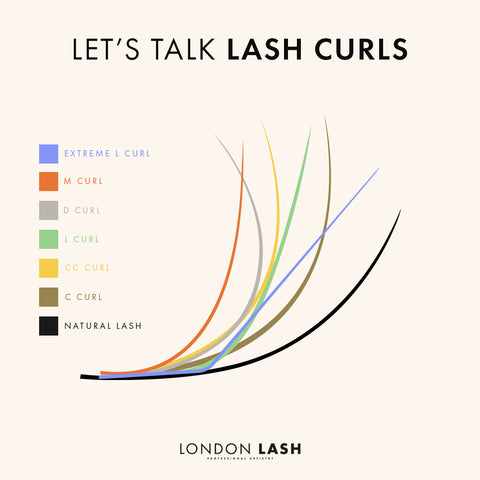
Choosing The Best Lash Curls
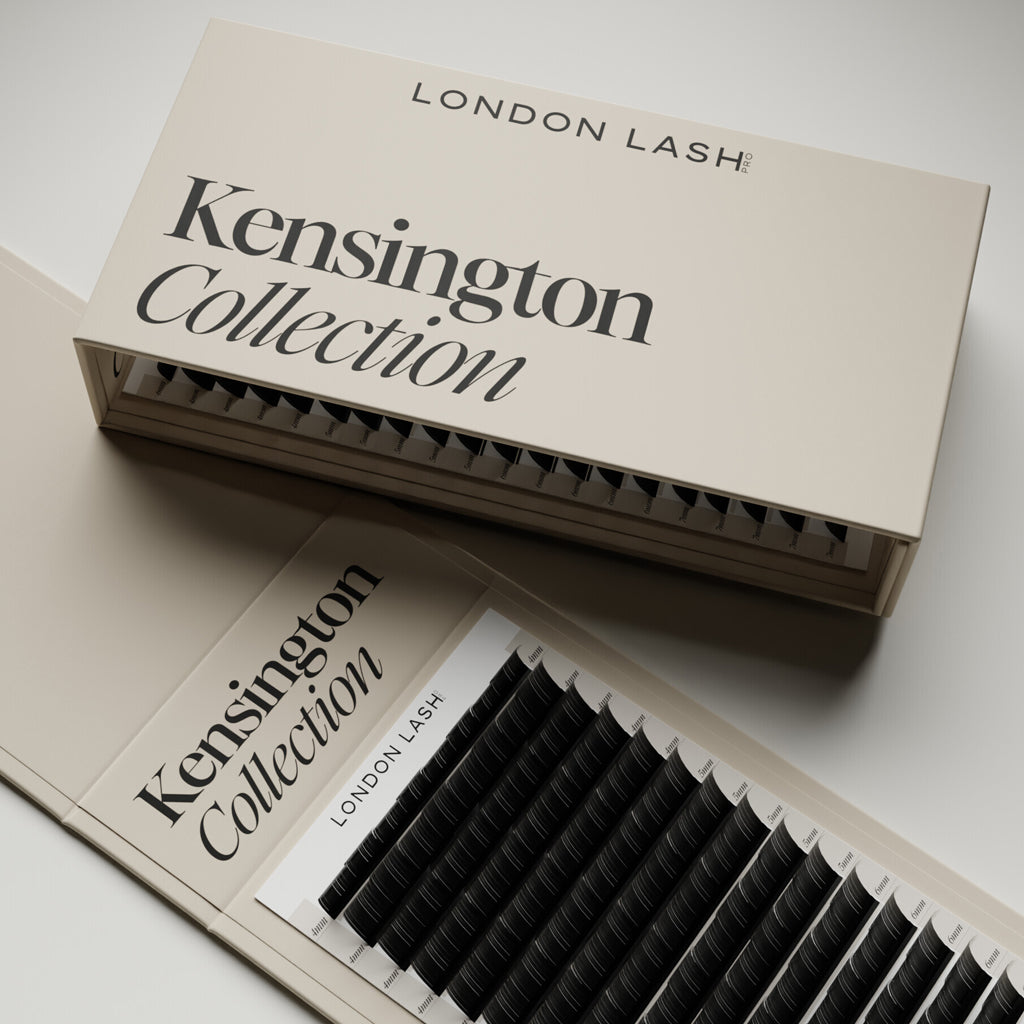
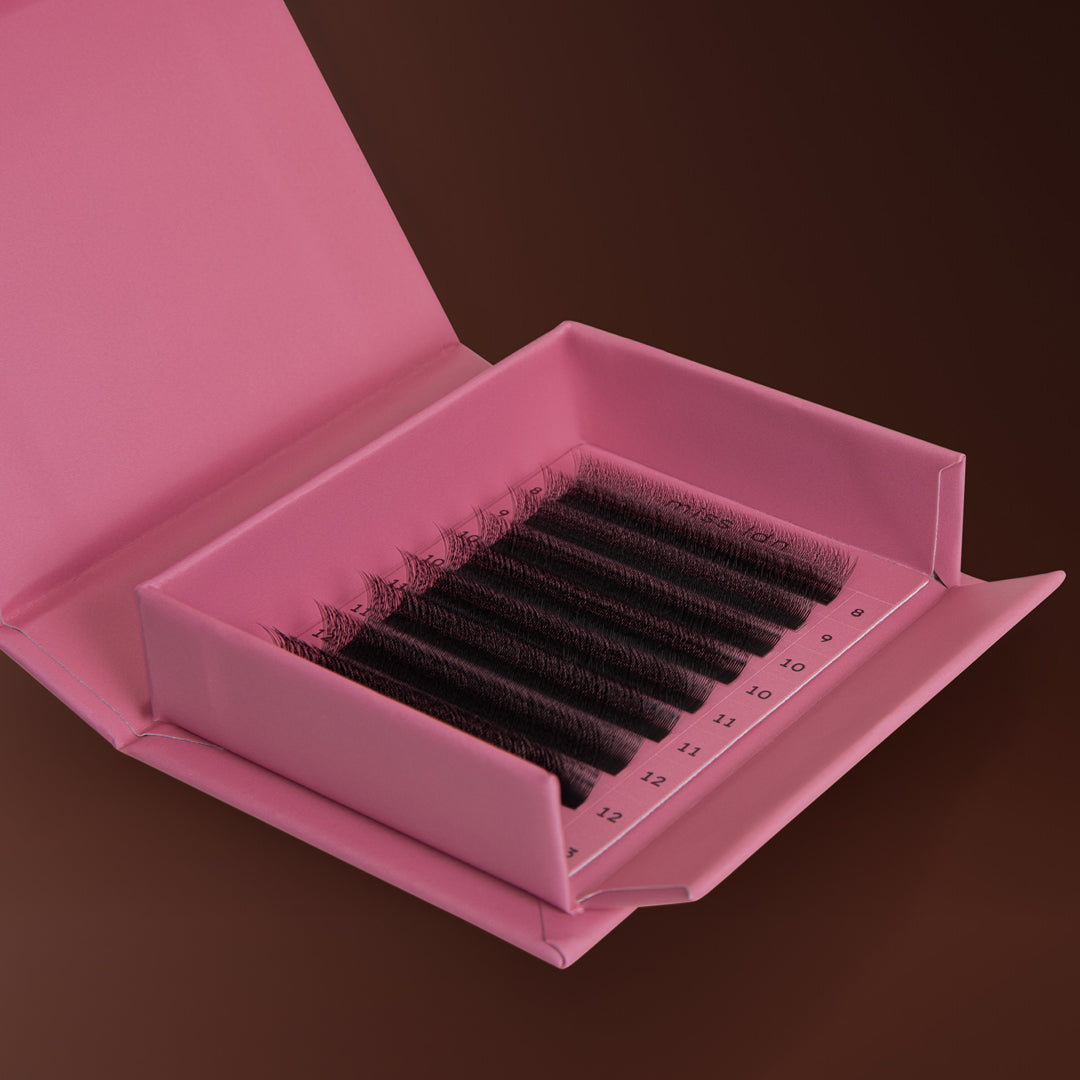
Now, onto the curls. When choosing eyelash extensions for naturally curly lashes, go for a curl that complements the curl pattern of your client's natural lashes, like a C-curl or CC-curl. These lash curls provide more surface area for bonding between the lash extensions and the natural lashes, ensuring better lash retention. Plus, as you gain experience, feel free to experiment with different curls to create diverse looks for your curly-lashed clients.
It’s All About Angles
Angles are everything. Adjusting your technique is key when working with curly lashes. Play around with the angle of your hands and lash tweezers to achieve optimal bonding between the lash extensions and natural lashes. This may feel a bit strange at first, but with practice, it'll become second nature.
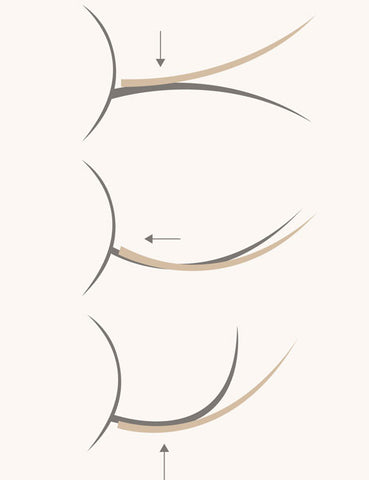
Lash Placement Is Key
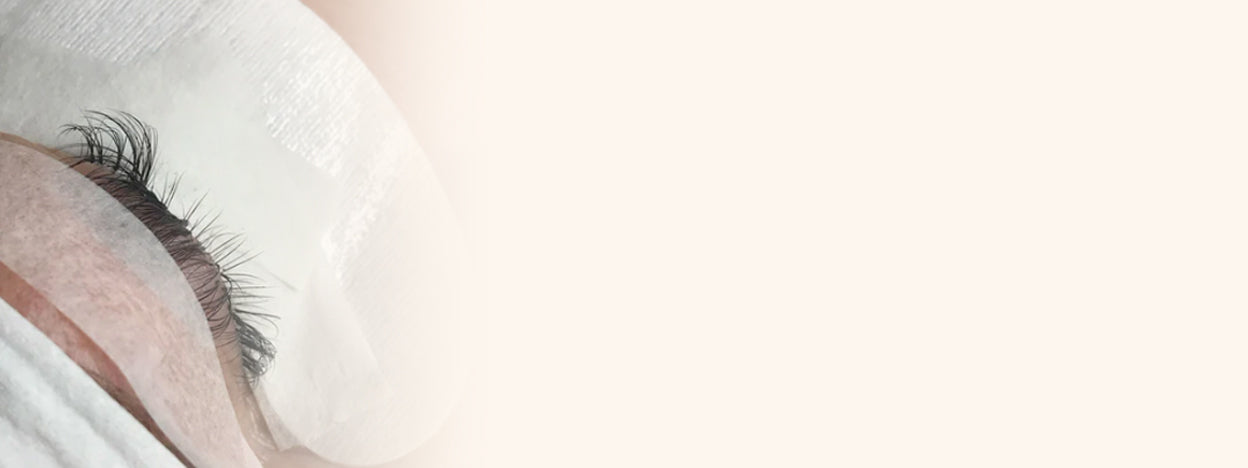
How you place the eyelash extension on your clients’ natural lashes is important, especially when it comes to naturally curly lashes. If your client's lashes have a strong curl with the tips curling over, place the eyelash extensions on the underneath of the natural lashes to avoid fighting against their natural curvature. But if the natural lash curves to the left or right, you can counteract this by strategically placing the eyelash extensions on the opposite side for a balanced, uniform look.
Top Lash Tips
Tip 1: Lash layers are your friend. Working with the natural lashes in layers makes isolation a breeze, ensuring the individual lashes get the attention they deserve and a more uniform application.
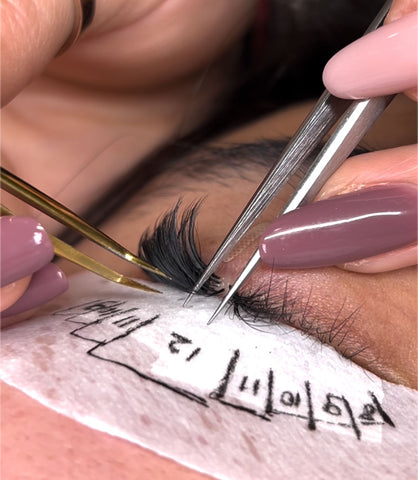
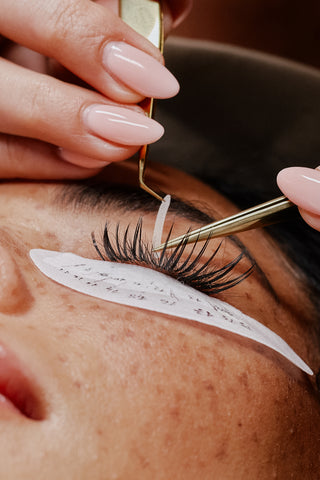
Tip 2: Lash mapping is your secret weapon. You can draw arrows on the under eye patches to note the direction of the natural lashes' curl, which will guide you by making it easier to strategically place the eyelash extensions and create an even appearance.
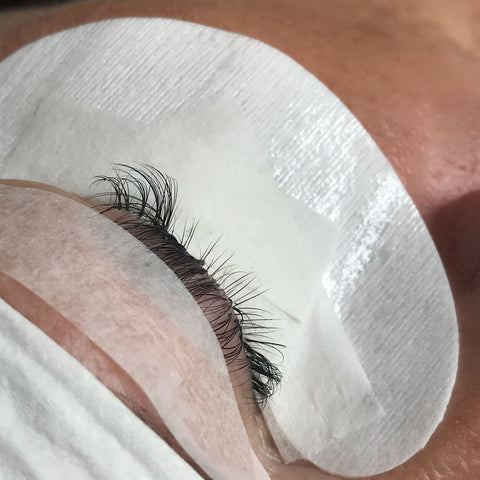
Tip 3: Sometimes, a little lift goes a long way. So don't hesitate to use eyelid tape to lift those lids slightly, especially if the curly lashes sit lower on the under eye patches and make application a little trickier.
Remember, practice makes perfect. Embrace the learning process, and don't be afraid to try new techniques. With time and dedication, you'll become a pro at enhancing those naturally curly lashes. Armed with these tips and tricks, you'll be ready to conquer those curly lashes with confidence and create stunning lash looks. Embrace the curl, unleash your creativity, and let those lashes shine!