Trend Alert! What Are Wet Look Lashes?
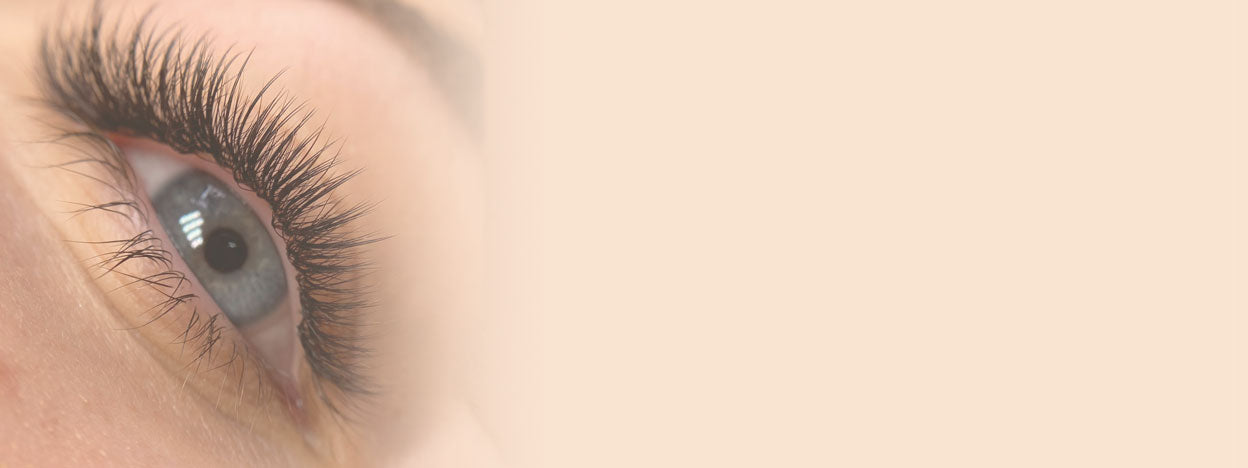

Table of Contents
A Step-By-Step Guide For Wet Look Lashes
If you're ready to dive into the world of Wet Look Lashes and make your clients' eyes pop like never before, then you've come to the right place. In this blog post we’re going to delve into the trend of Wet Look Lashes, why they are gaining popularity, and the art of lash mapping so you can achieve this stunning look, ensuring your clients leave your lash salon with mesmerising eyes that demand attention.
What Are Wet Look Lashes?
Wet Look Lashes are a modern and sophisticated style of lash extensions that mimic the appearance of wet, glossy, and spiky lashes. Unlike traditional eyelash extensions, which tend to have a more natural matte finish, Wet Look Lashes give the illusion of having recently applied a light coat of mascara or, as the name implies, the appearance of wet looking lashes. This glossy effect will add depth and allure to your client’s eyes, making them appear larger, more defined, and captivating.

Why Are Wet Look Lashes So Popular?
Bold and Eye-Catching: Wet Look Lashes are perfect for those who want to make a bold statement with their eyes. The glossy finish of these lash style draws attention to them, making them stand out and highlight the natural beauty of your client’s eyes without being over the top. It gives that ‘just stepped out the shower’ vibe.
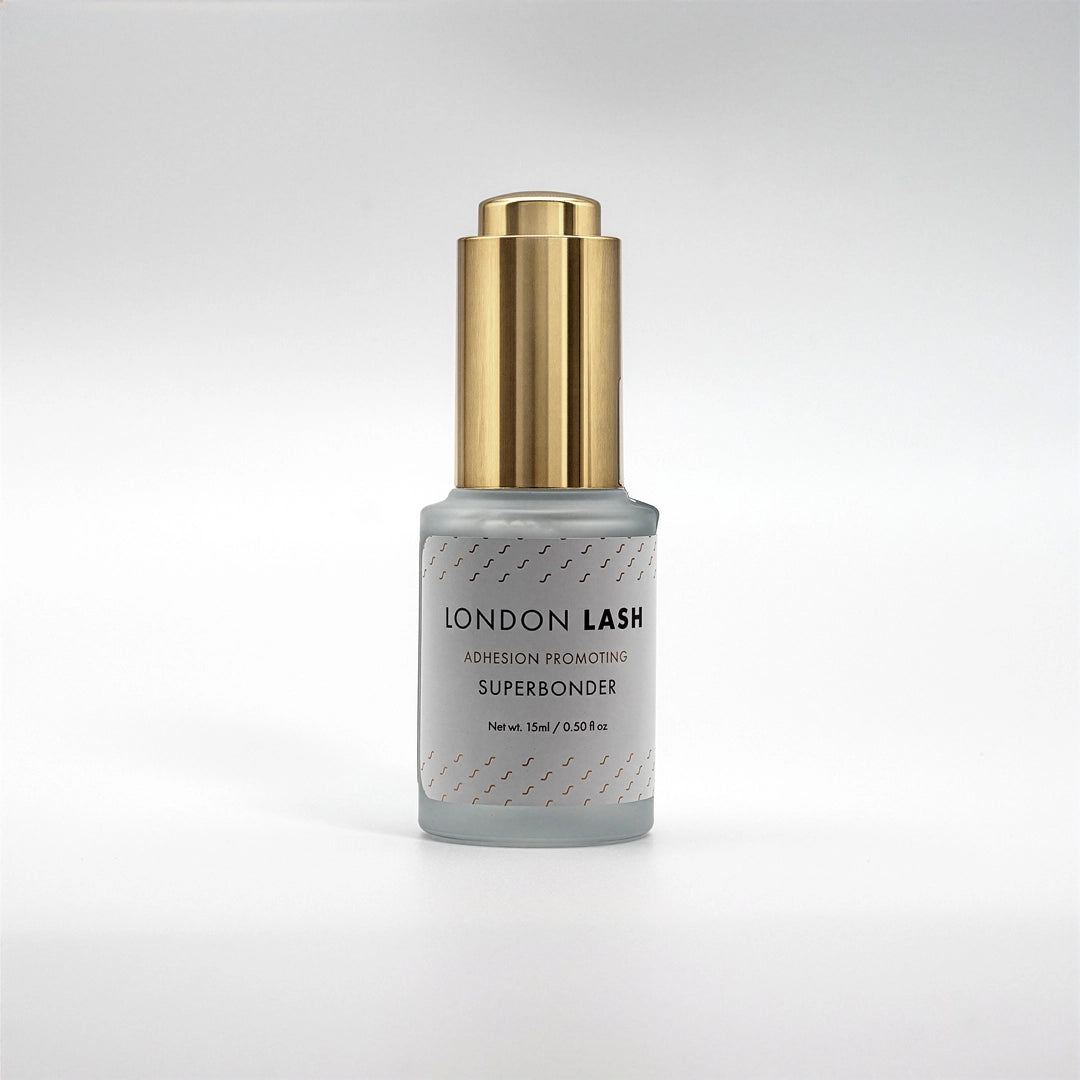
Long-Lasting Lashes: Wet Look Lashes can last longer thanks to their water-resistant coating of Superbonder Sealant, making them ideal for special occasions or vacations. These glossy lash extensions will stay put, so your clients can enjoy their dazzling lashes without any worries.
Suitable for Various Eye Shapes: No matter the shape or size of your clients’ eyes, Wet Look Lashes can be customised to suit their unique features to complement their overall appearance. You can create Wet Look Lashes using the lash mapping you’d typically pick for your client, from Doll Eyes, Cat Eyes, Squirrel or even Manga Lashes, the world is your oyster.

How Do You Create Wet Look Lashes?
The key to creating a stunning set of Wet Look lashes begins with a thorough consultation and the perfect Pre-treatment Routine. Once you have listened to your clients' needs, assessed their natural eyelashes and analysed their eyes and face shape, you can decide on the most flattering lash extensions style to complement them. For that luscious Wet Look, you'll want to use specially designed glossy lash extensions for their lustrous sheen.
Making sure that you stock a variety of lengths and curls will not only help you tailor the perfect Wet Look for each client, it’s also a great way to ensure you can stay ahead of other emerging eyelash extension trends too! If your client wants to add a dash of drama to their lashes then we would recommend opting for a C-Curl or even a D-Curl to elevate the lash line, and further enhance the allure of Wet Look Lashes. However, it’s always important to remember to harmonise the chosen lash extension curls with your client's natural lashes and eye shape for a cohesive and captivating result.

The Secret Weapon For Wet Look Lashes - Lash Sealant!
The key to achieving the Wet Look is not only making sure that you’re using glossy eyelash extensions, but also applying a light coat of Superbonder Lash Sealant to each layer of lashes. A Lash Sealant is like the makeup setting spray of the lash extension world and will lock in the dewy look, bond the eyelash glue by adding a layer of elasticity and lock in all the fumes.

Lash Mapping For Wet Look Lashes
Now comes the crucial part - mapping out the lash extensions. When it comes to lash mapping for Wet Look Lashes, we would recommend working with the natural lashes in layers for a seamless, natural look.

Layer 1:
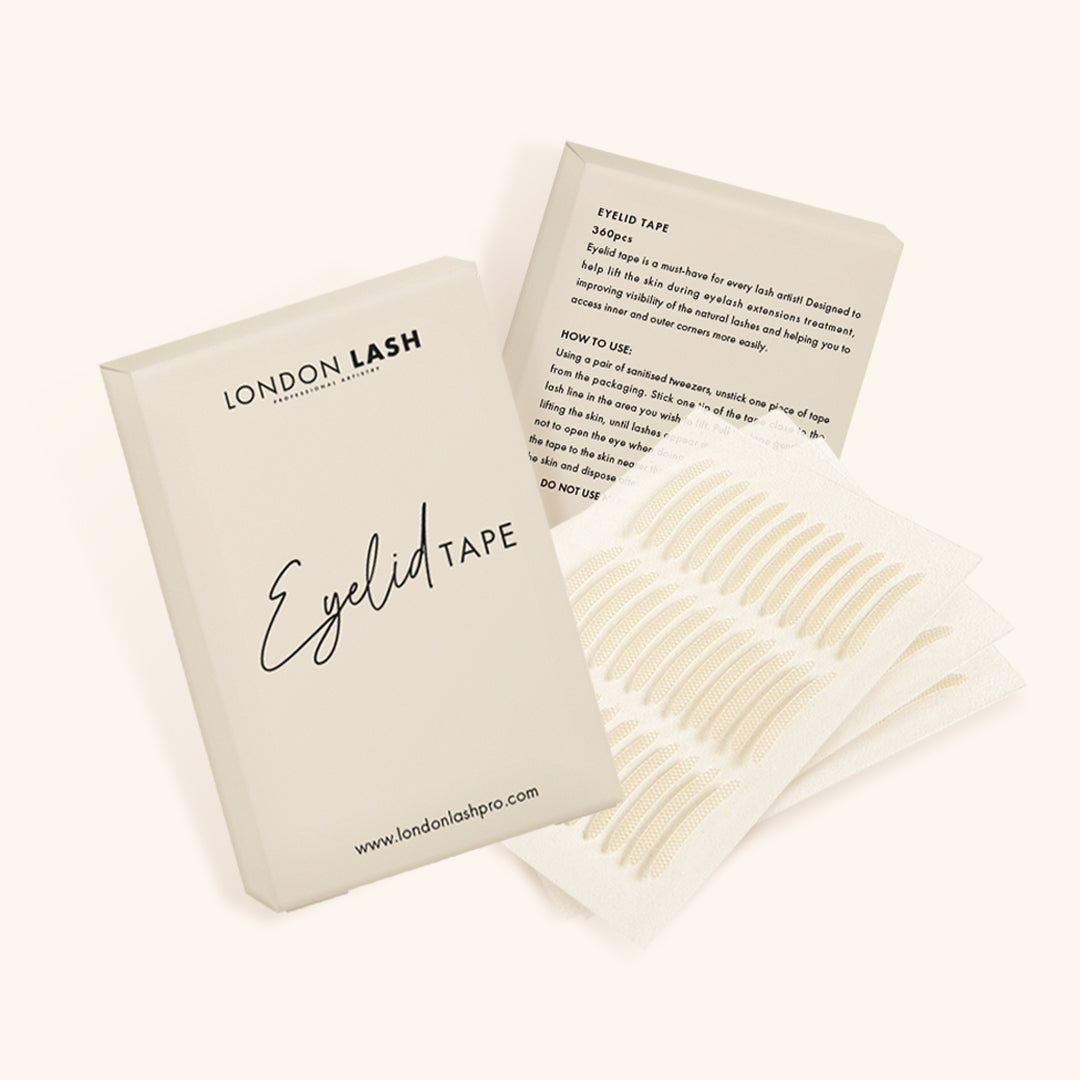
Starting with the bottom layer of lashes, take a piece of Eyelid Tape and lift all of the eyelashes back, and fix the tape to the upper eyelid at the ends. Now that you have your first layer of lashes, you can start applying the eyelash extensions. If you would like to create a spiky, textured lash look, then make sure to use closed lash fans on the individual lashes by handcrafting lash spikes or even use Premade Lash Spikes. You’ll also want to be using the shorter lengths for this lash layer. Once this lash layer is complete, apply Superbonder to the eyelash glue bonds using a micro eyelash brush to ensure the lash glue is completely dry (this helps to avoid stickies). Doing so will also help to prevent the lashes from getting stuck to the under eye patches.

Layer 2:
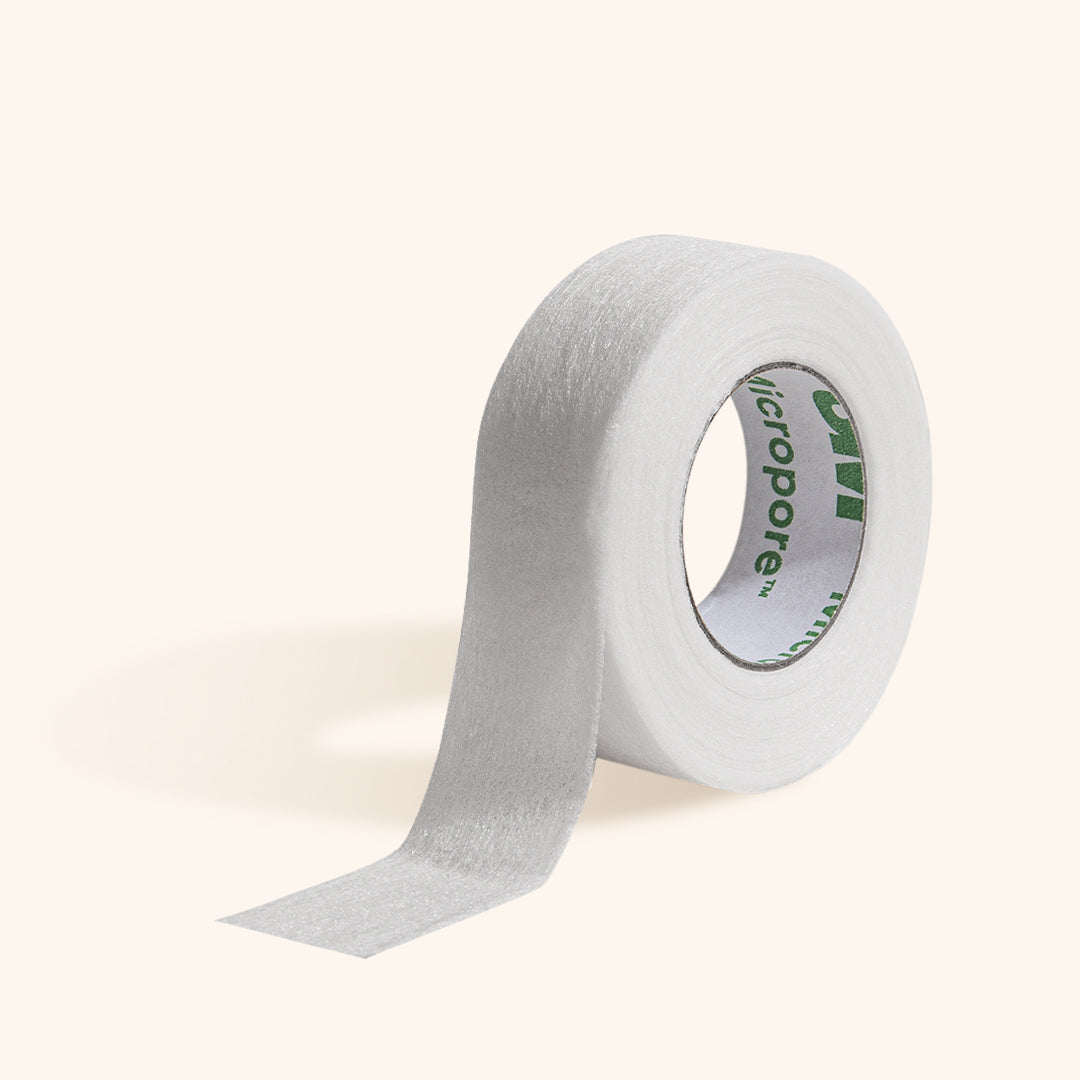
Next you’re going to use some more lash tape to stick down the bottom layer of lashes. Now that the bottom layer is secured out of the way, use your tweezers to free the middle layer of lashes. This layer is where you’ll apply your lash spikes. You can use lash spikes that are 1 mm longer than the ones you used on the bottom layer if you want a super textured and spiky look for the lash extensions. However, if your clients would like a more subtle set, then you can apply the same length of eyelash extensions to each layer of lashes for a slightly less dramatic finish. Once you’ve finished this lash layer, like with the first layer you’re again going to apply Superbonder and then add this layer to the lashes that are already taped down.
London Lash Top Tip: If you have clients with sparse lashes that need more coverage, you can add some open lash fans alternately throughout the middle layer to close any gaps.
Layer 3:
For this layer you can either use eyelash extensions that are 1 mm longer than the ones you used for the middle layer, or use the same lengths depending on the overall look your client desires. Again, once you’re done with applying the eyelash extensions to this layer and you’ve applied Superbonder to them for the last time, you can finally remove the lash tape that has been securing the bottom two layers. Finally, give them a nice brush through with a mascara wand so they’re all sitting in place perfectly.
London Lash Top Tip: When removing your lash tape from the lash layers you’ve secured, you may find that it has gotten stuck to the lashes. Use your Volume Lash Tweezers to hold down the lashes, and use your Isolation Lash Tweezers to gently remove the lash tape bit by bit.

By embracing the art of lash mapping, tailoring your technique to individual eye shapes, and using high-quality lash supplies, you will unlock your potential for creating captivating lash masterpieces that leave your clients feeling stunning! May your clients emerge from your lash studio with eyes that glisten with their Wet Look Lashes wherever they go.
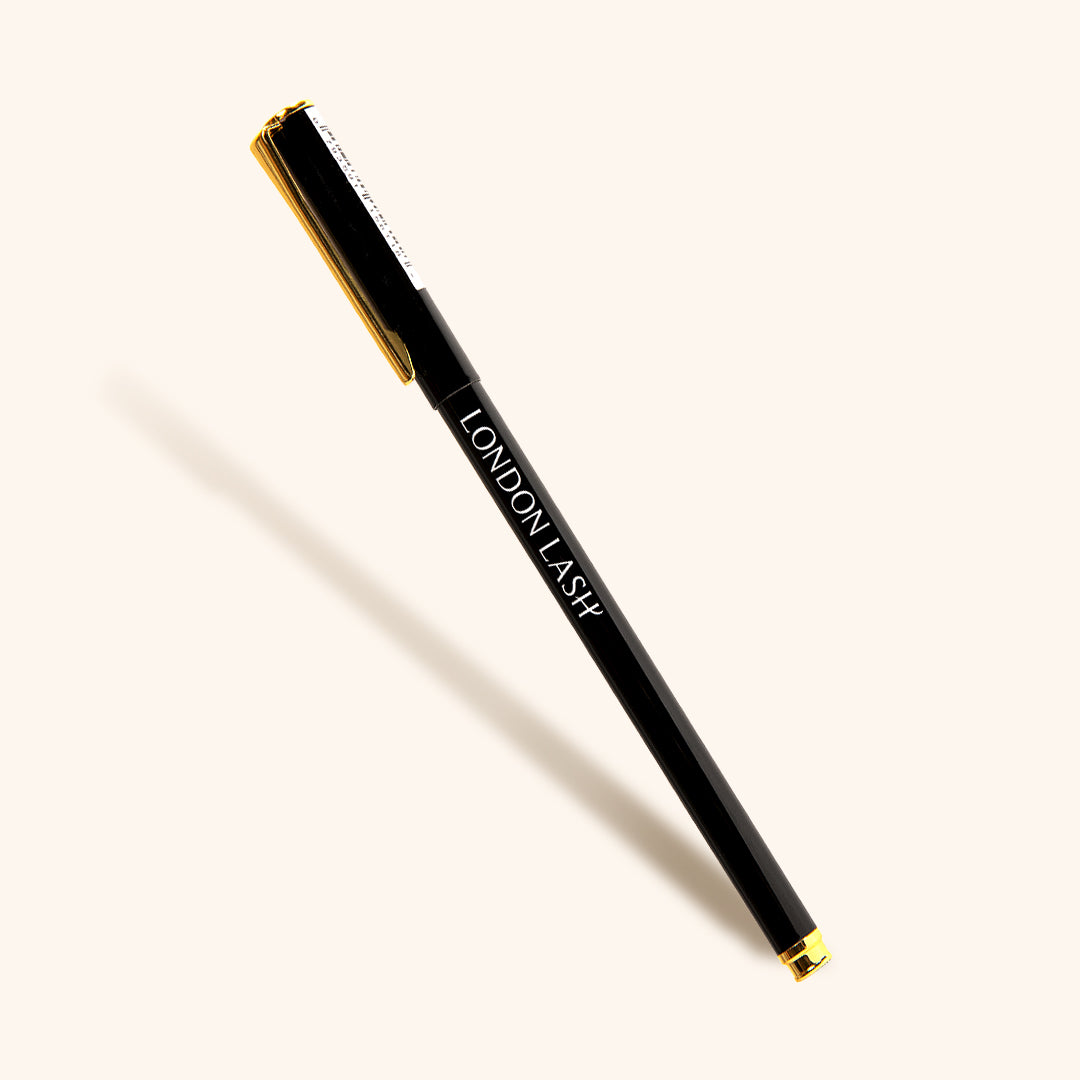
Check out these featured products