


Why Layers Will Make Your Lash Sets Better
How do you reduce lash extension treatment time, avoid the dreaded stickie, and have a choice of three different top lines in your lash sets? Magic isn’t the answer, but it’s close.
It’s hardly an industry secret, but using lash layers to your advantage is something that is often overlooked when it comes to completing lash sets. A client comes in, we complete the consultation process, we do their Pretreatment and we get on with their lashes - we don’t have time to work with their layers, right? Wrong! In fact, it’s so beneficial to work with layers that you will never go back to not working with them, once you’ve tried these tricks:
Trick 1 - Lash Layers Will Speed Up Your Full Sets and Your Infills
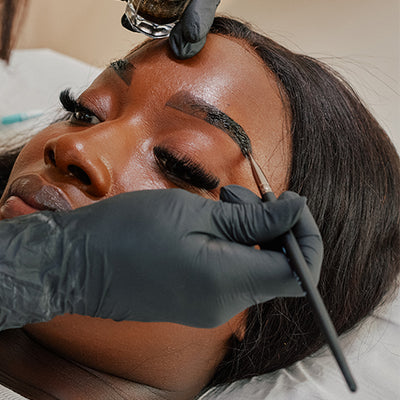
For this, you’re going to need some Tape to hold back the lashes you’re not ready to deal with yet. Complete your Pretreatment as normal and then take a length of tape and de-tack it on the back of your (sanitised) hand. Next, lift up the lashes and make sure to stick the tape down at the ends, leaving the main body of the tape just resting on the lashes to hold them in place.
Take your Isolation Tweezers and gently pull down the bottom layer of lashes. Apply your extensions to those lashes and when you're done with that layer, use your isolation tweezers to pull down the next layer of lashes. Continue this until all layers are covered, then check the stickies and apply Superbonder as usual tofinish off the set!

If a client is coming in for and infill this will be even easier. Complete your Pretreatment, take a length of tape, de-stick it on the back of your hand and then gently lift up the extended lashes, sticking the ends of the tape to the skin and letting the main body of the tape rest over the extensions. What you’ll now see is the unextended lashes just poking out of the bottom. Extend those lashes and gently remove the tape before brushing all the lashes together. Check for stickies and apply your Superbonder, then get your client re-booked in for their next infill appointment.
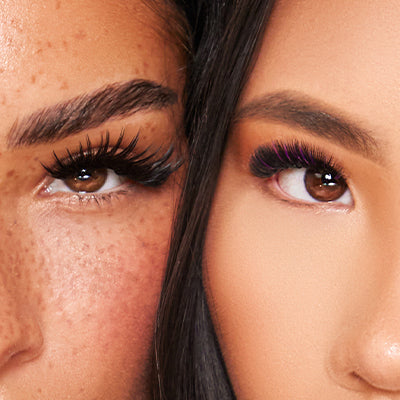
Trick 2 – How to Achieve Three Different Top Lines
The way that we attach extensions to layers primarily with regard to lengths is going to have a big impact on the overall top line of the eyelashes. Applying different lengths to the different lash layers in different ways means that you can achieve a super even top line which is characteristic of a typical Russian Volume set, you can achieve a more natural top line, and you can achieve a really wispy, fluttery top line depending on how you work.

- To achieve a super even top line, you're going to take the longest length (the length you wrote on your lash map for that section) and apply it to the bottom layer. Next take a lash 1mm shorter and apply to the middle layer. Drop down 1mm again and apply it to the top layer. This means that when the client opens their eyes, all of those layers are equal to one another and have formed a really even top line. All lashes appear the same length, and give you that super even sweep across the top line, as is the desired effect with a typical Russian Volume technique.
- To achieve a ‘Natural’ top line we're going to apply the same length to all layers. This means that when the client opens their eyes, there’s a little bit of irregularity but it's not so wispy that it would be counted as a wispy set - it's a natural finish but it's not super super even. It mimics our natural top line
- Recently, clients have coveted more of a wispy, fluttery kind of effect. The easiest way to do this is simply to reverse what we did when we created the even top line. On the bottom layer we're going to apply a shorter length. On the second layer, we’ll apply a medium length and on the top layer we’ll apply our longest length. What this means is that when the client opens their eyes, they have the full density of the lash set through the bottom two-thirds of the lashes, but their top line will be really wispy and fluttery and uneven in that really desired kind of Kim K, almost messy finish.
Trick 3 – Using Lash Layers to Avoid Stickies
By separating out the layers with tape as we did earlier we're actually actively avoiding getting stickies. As the lashes are more separated from their neighbours, there's less chance of them getting stuck together. You'll also find it much easier to see those really tricky baby lashes that tend to get stuck to the extensions without us noticing, and are arguably the most damaging type of stickie.
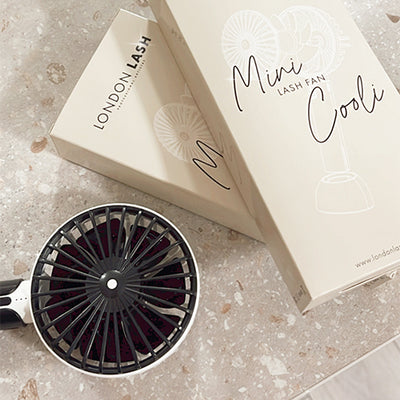
We're going to follow the exact steps as laid out in trick one: tape back the lashes gently, take down a layer, lash, repeat. To really help prevent stickies, you can even take a Mini Cooli Lash Fan and give the recently lashed layer a quick blast between the layers just to really ensure that the glue is well on its way to be cured before you move on to the next layer.

We wrote a super in-depth post all about avoiding stickies recently, which would be super beneficial for you if this is something you struggle with, or if it’s a topic you don’t yet know much about!
We hope that these tricks were helpful to you and I hope that you'll see a difference in your lash sets! You will likely find that as well as being faster, having a choice between three different lash lines and also avoiding stickies that your sets will look fuller and your clients will be happier than ever!