Brow Lamination Step by Step Guide
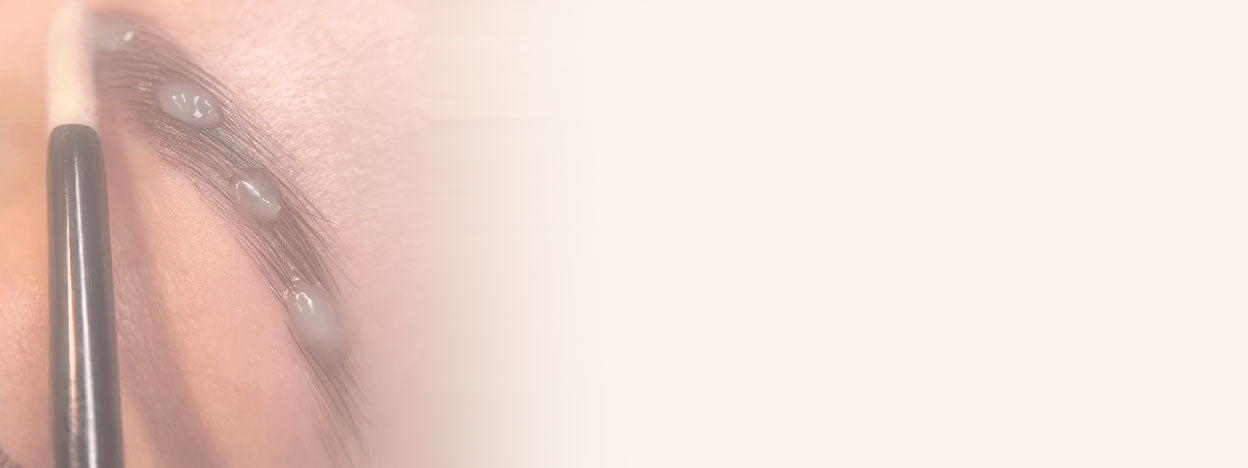

Table of Contents
Brow Lamination Guide: An Introduction To InLei® Brow Bomber
With each generation of beauty lovers, a new brow treatment trend is born. Over the last few years the bigger, bolder eyebrows the better. This has led to an increase in eyebrow lamination treatments which lift the brows and lock them in a new position adding fullness and fluffiness.
Brow Bomber by InLei® is a revolutionary brow kit in eyebrow lamination treatments in a similar way to how their Lash Filler line seriously upped the game of lash lift treatments. As well as making the brows stand out and behave more obediently, Brow Bomber nourishes the hairs right into the bulb increasing the overall health from root to tip, and also looking after the skin as well.

Step 1: Preparation
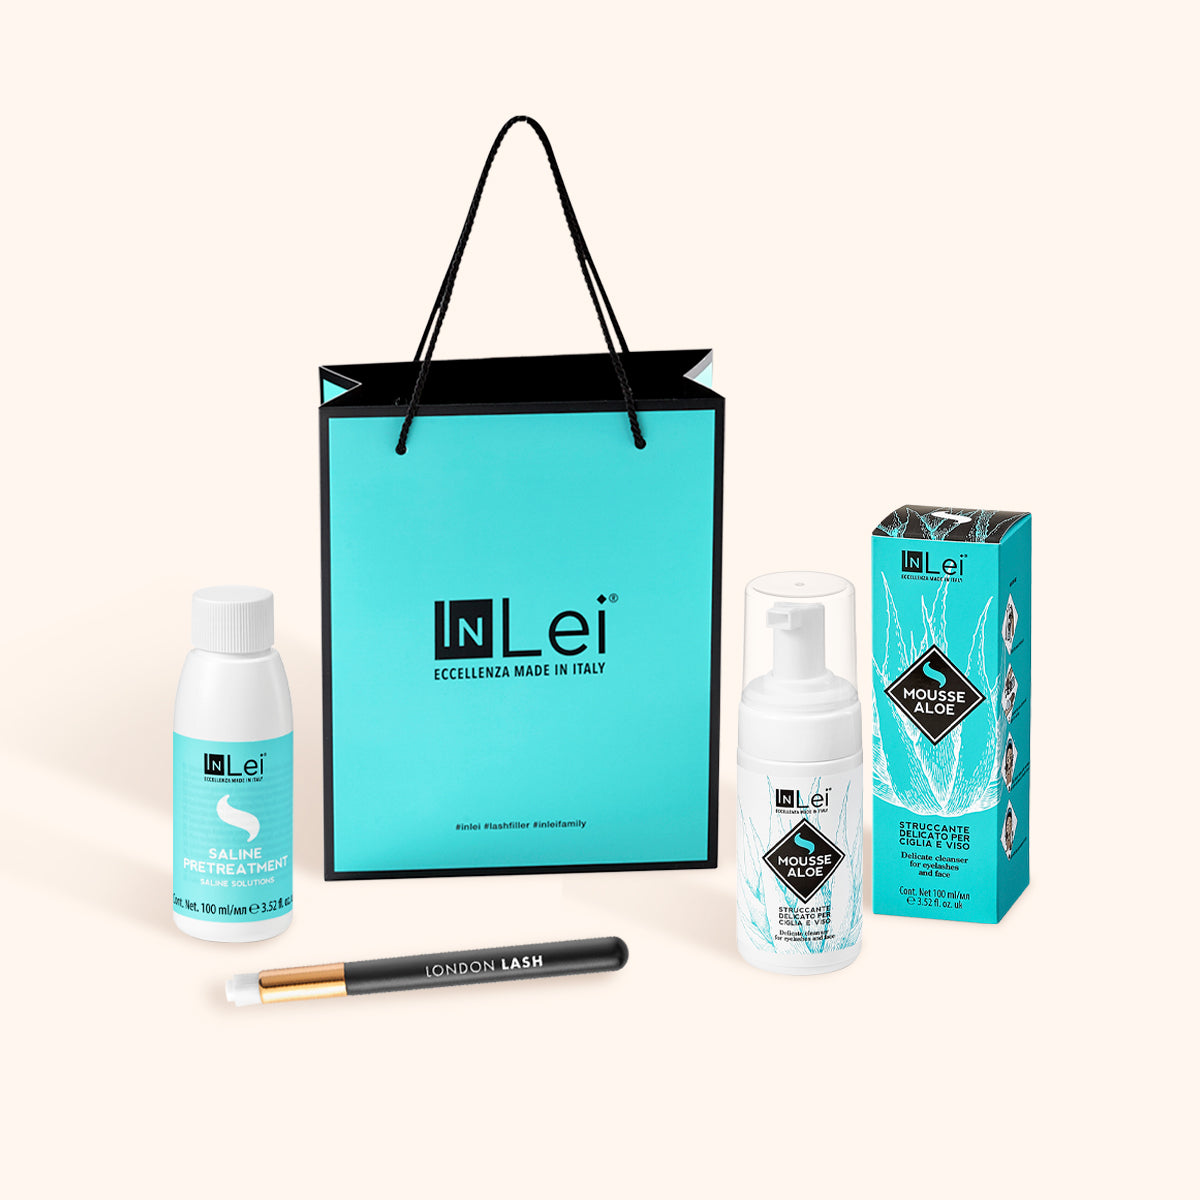
Cleanse the skin and brow area thoroughly using a Brow Shampoo and rinse well. You need to make sure any and all makeup, oils or skincare residue is removed, as the products won’t be able to penetrate the hairs properly if there is any product left.
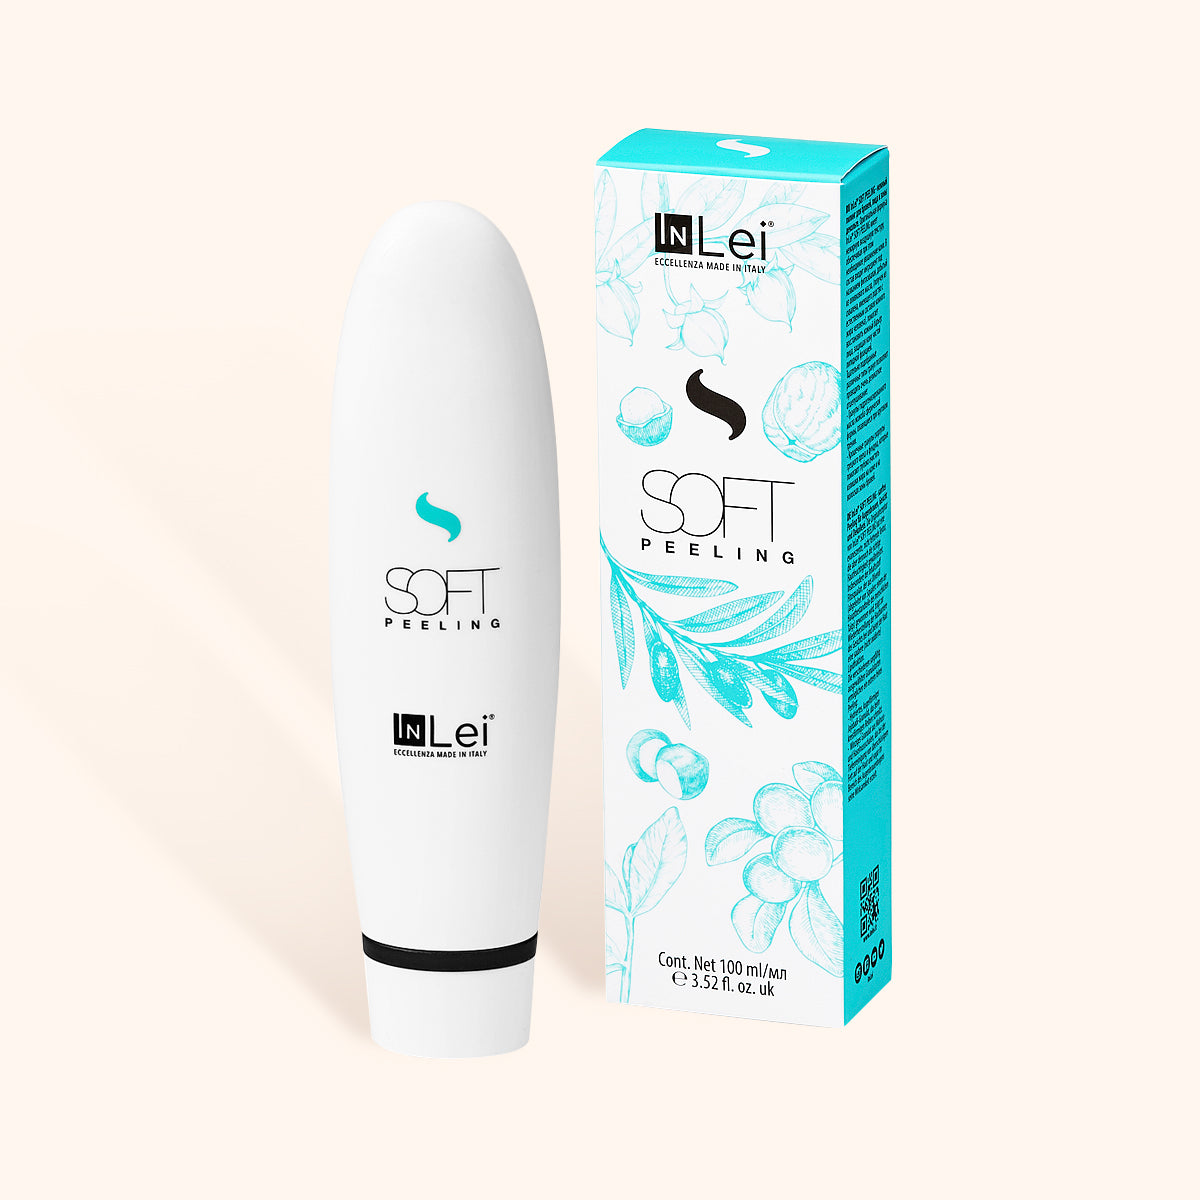
If your client has quite dry skin, it’s worth having some Brow Peeling in your eyebrow lamination kit to gently exfoliate the skin – this is generally advisable for all clients but if your client has very sensitive skin it will be okay to forego this step to keep them comfortable.

Ensure all pre-treatment products are completely rinsed away from the brow hairs and the skin before going forward with the treatment.
Step 2: Apply Numbing Cream
This is an optional step, but it’s a great product to have in your brow lamination kit for those clients with sensitive skin in particular. InLei® Lady Shield contains sichuan berry extract to numb the skin gently as well as some hydrating and nourishing ingredients, so it protects the skin from any irritation or redness.

The reason that this is an optional step is because by and large, Brow Bomber has been found to be very gentle and non-irritating for the vast majority of clients. Still, it’s a nice step to add, so why not treat our clients who need it? Apply 5 minutes before you start the treatment, allowing enough time for the skin to absorb the cream. Be sure not to use too much as you don’t want it creating a barrier.
Step 3: Apply Lift 1
Take a brush – the Picasso Brush is ideal for this – and apply a small amount of Lift 1 to the brow hairs. The time you leave the solution on the brows will depend on the thickness of the client’s brow hairs:
- Fine Hairs: 6-8 Minutes
- Medium Hairs: 8-10 minutes
- Thick Hairs: 10-12 minutes
Set a timer for each eyebrow so that you do not damage the hairs by leaving the solution on for too long. Brow Bomber has been designed specifically to not be used with cling film, so simply let it sit on the brows while it works. When the time is up, gently wipe away the product with a cotton pad.

Step 4: Apply Lock 2
Begin by brushing the brows into the desired position and fixing them into place with a very thin layer of Mister Fix (a fixing gel specifically designed to be used alongside Brow Bomber). Brush the brows into position with an F-Brush for best results.

Next, apply a layer of Lock 2 - again, a Picasso Brush will be a good brush to use, just ensure it is completely clean if it is the same brush as you used for the Lift 1.
The timing for Lock 2 will be the time of the Lift 1 halved, plus 2 minutes (for example, if you left Lift 1 on for 10 minutes, you would leave Lock 2 on for 7 minutes) Again, set an timer for each brow and remove with a cotton pad.
Step 5: Tinting Brows
This is another optional step depending on how bold a look your client is looking for. Take equal amounts of InLei® Tint in your desired shade and InLei® Tint Developer and mix thoroughly in a non-metal container. Apply to the brows with a Michelangelo Angled Brush and leave to work for the same timing as you used for Lift 1. Be careful to apply the tint neatly, as it will colour the skin as well. When you remove the tint, try removing it from the inside of the brow a little sooner to achieve an ombre effect. Then, when you remove the rest of the tint, use a damp cotton pad and a dabbing motion, careful not to swipe the tint across the skin.
Step 6: Hair Removal
It’s up to you (and of course your clients based on their desired look) how you remove the hair and how much must be removed, be it waxing, threading or tweezing. For the full InLei® Brow Removal product range, just click the link.
Step 7: Apply Brow Bomber
The final step is to apply Brow Bomber 3, which is a soothing, hydrating, and nourishing brow butter. It contains all sorts of amazing plant-based ingredients to make the skin and the brow hairs very happy and healthy. A little Brow Bomber 3 goes a long way, but if there is a lot of excess, you can dab it gently with a cotton pad before giving the brows one last brush and taking photos for your Instagram or website!

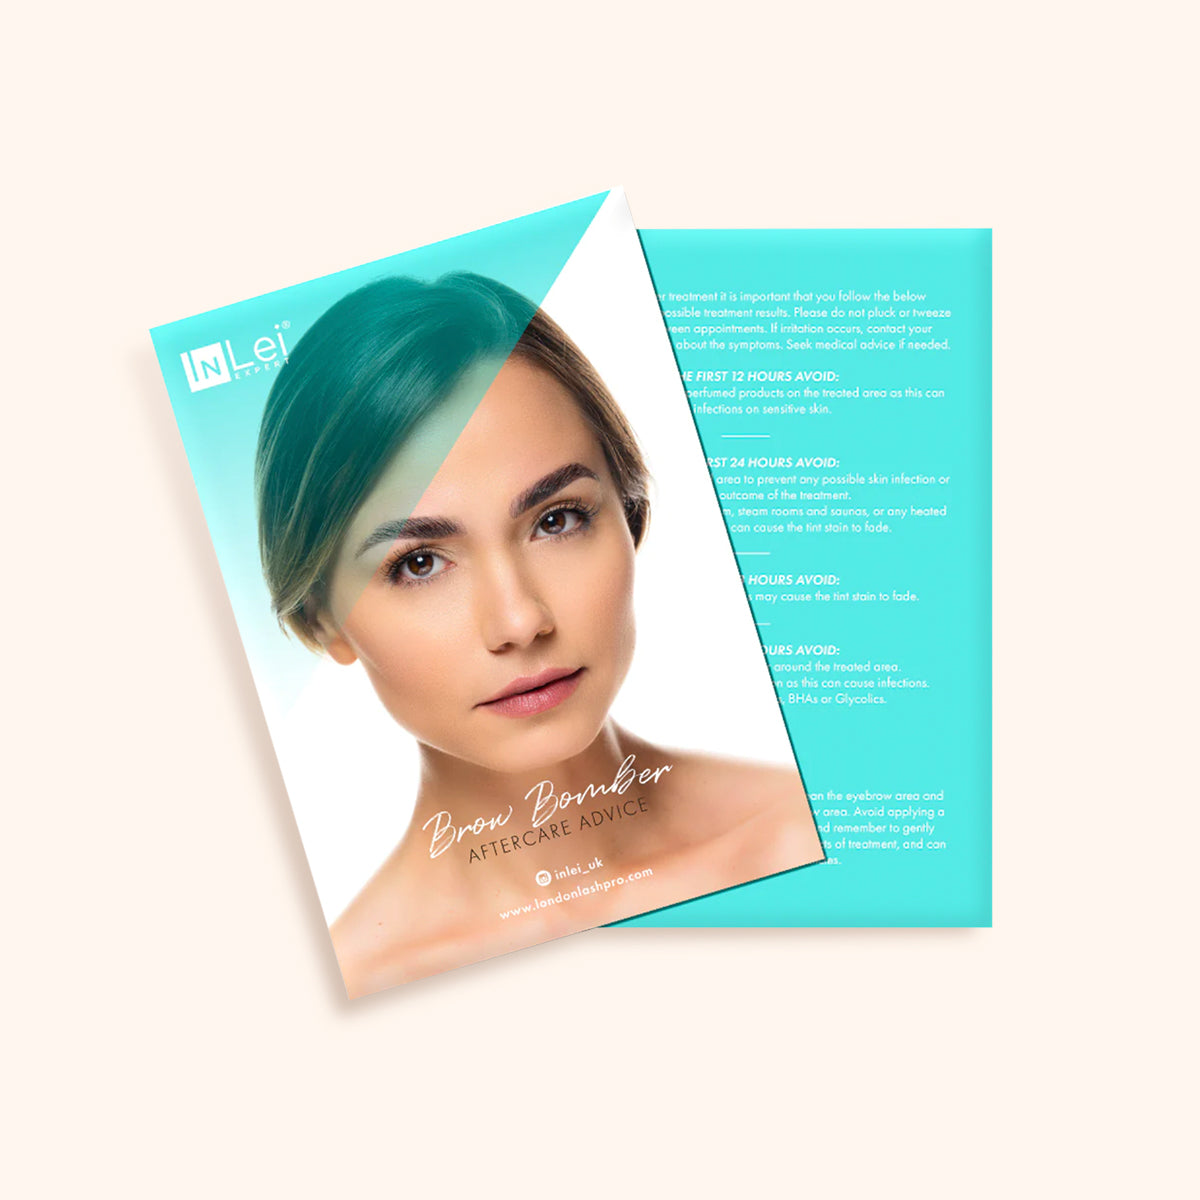
Lastly, it’s worthwhile retailing some products that your client can use at home to enhance or prolong the effects of their treatment, such as InLei® Fashion Lash, or their new brow serum Adiutrix (which, by the way, is incredible). And don't forget to set your clients on their way with an Aftercare Sheet.
Check out these featured products