

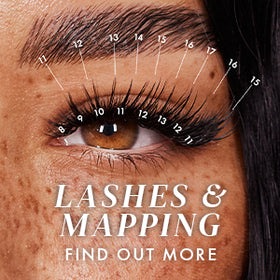


A Step-By-Step Guide For Lash Mapping Doll Eye Lashes
Lash mapping is essential for a great set of lashes - not only does it ensure symmetry across both eyes, but it also helps your eyelash extension sets to look more professional, protects the finer natural lashes of the inner corners, and provides a truly customised lash extension set for each client based on their face shape and bone structure!
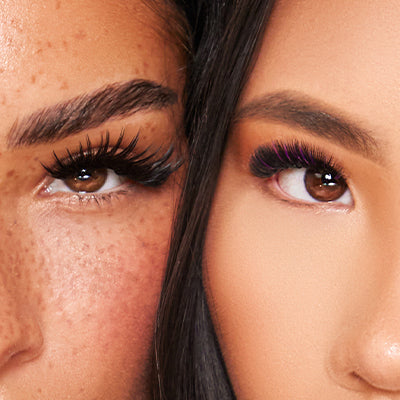
What Are Doll Eye Lashes?
For Lash Technicians looking to expand their repertoire of lash mapping styles, Doll Eye Lashes are a must! This eyelash extension style is all about achieving symmetry and creating a captivating open-eyed look for your clients. With Doll Eye Lashes, the longest lash extensions are strategically placed in the middle section of the lash line, gradually tapering off in length towards the inner and outer corners of the eyes. The result? A beautifully balanced appearance that enhances the natural shape of the eyes while providing an illusion of larger, more open eyes. Mastering this lash map allows you to offer your clients a versatile and flattering lash look that complements a variety of eye shapes and sizes. Whether your clients crave a subtle enhancement or a more dramatic flutter, Doll Eye Lashes are sure to captivate and impress.
How To Create Doll Eye Lashes
Let’s have a look at how to map Doll Eye Lashes, including who Doll Eye Lashes are perfect for, and even how we can achieve three different top lines in our lash sets!
To begin with, the most simple way to remember how to map Doll Eye Lashes is to keep in mind that this style of lashes is all about symmetry - anything we do towards the outer corners of the natural lashes, we’re also going to mirror in the inner corners.

Lash Mapping For Doll Eye Lashes
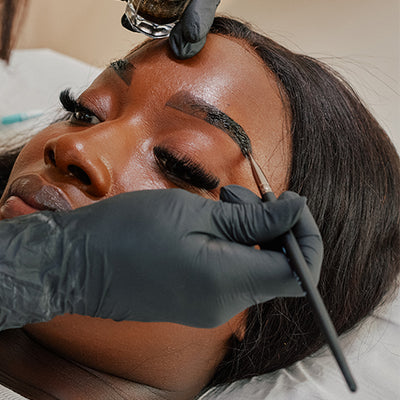
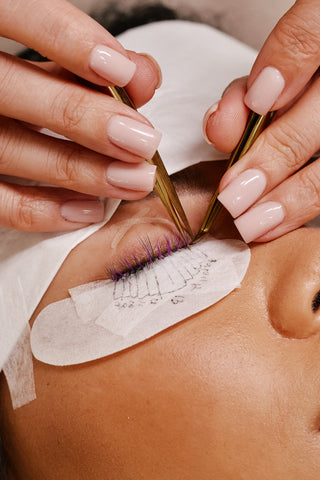
Start by marking the inner and outer corners on the under eye patches - that is the first and last natural eyelash - and then the middle of the eyes.
The simplest way to find the middle of the eye is to have your client look first one way (with their eyes closed, you’ll be able to see where their iris rests under the eyelid) and then the other, where their eye comes to rest in the middle is where you’ll go from as your centre.
Draw a line out from the middle of the eye, and then mark the edges of the iris - this will be the section where your longest lash length is going.

Next, connect those marks so that you can easily see the section you’ll be working outwards from

Now, work outwards from the middle section in even sized segments, mirroring everything you draw on either side of the middle section.

Who Will Doll Eye Lashes Suit Best?
Doll Eye Lashes give the appearance that the eyes are closer together, so will best suit those clients who have a wider set of eyes. When we refer to a ‘wide’ set of eyes, we’re looking at whether the distance between the eyes is wider than the eyes themselves. If a client has a wider set of eyes, Doll Eye Lashes will create the illusion that there is less of a gap, so are very complimentary!
Doll Eye Lashes will also make the eyes look bigger and rounder, making it perfect for clients with very small or narrow eyes. On the other hand, avoid this styling for clients who already have large, bulbous or round eyes as it can make them look constantly surprised, which isn’t our aim!
We hope you have found this guide helpful for understanding how to map the perfect set of Doll Eye Lashes for your clients and who they'll suit best. If you would like to know more about other popular lash mapping styles then you can also check out our blogs for Cat Eye Lashes and Squirrel Lashes.