


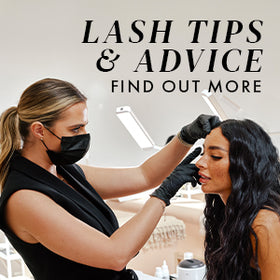


Top Tips For Lash Technicians During An Eyelash Extension Infill
So, the time has come for you to infill a client's lashes, but you're feeling a little overwhelmed by the thought of it? Don't worry, we've got you! There are a few rules to remember and some handy tips that will make your life a whole lot easier. Lash infills will soon become second nature to you and a nice change of pace between full eyelash extension sets.
Setting Yourself Up For Success
Firstly, always allow yourself enough time. If you are just at the beginning of your lash journey, make sure you schedule at least an hour and a half for every infill appointment, but don’t worry if you need more time - it’s not a race!
Ask your clients to book their infill appointment at the end of their full eyelash extension treatment. Thisway, you can avoid long breaks between infills. Do not schedule infills for more than 3 weeks after their full lash set and advise your clients that you require at least 50% of the lash extensions to be attached to the natural lashes when they come for their infill appointment.

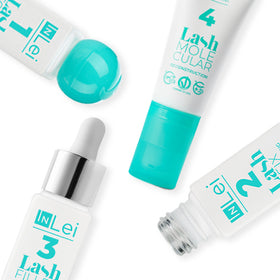
Finally, highlight the importance of correct eyelash extension aftercare to your clients. It is crucial that they are cleaning their lashes everyday with a specially formulated Lash Shampoo and Cleansing Lash Brush. There is nothing more frustrating than trying to apply lash extensions onto dirty lashes! An easy way you can encourage your clients to have a proper aftercare routine for their lashes is by retailing your own aftercare kits and supplying them with an Aftercare Leaflet at the end of each appointment which teaches them how to look after their gorgeous new lashes properly.
Squeaky Clean Lashes!
So... you did a full eyelash extension set 3 weeks ago, advised your client about the right aftercare and necessity of cleaning their lash extensions daily, but no matter how often you repeat yourself, you will always find one client who will come for their infill appointment with dirty lashes. We like to give second chances, which is why we always need to make sure that we have Lash Shampoo and Cleansing Lash Brushes on hand so that we can wash our clients' lashes for them to ensure they are thoroughly clean. This can also be a good opportunity to demonstrate to them how to properly care for their lashes once they leave your beauty room. You can show them the video below as an example they can refer back to:
Once those lashes are nice and clean, you're ready to apply the under eye patches.
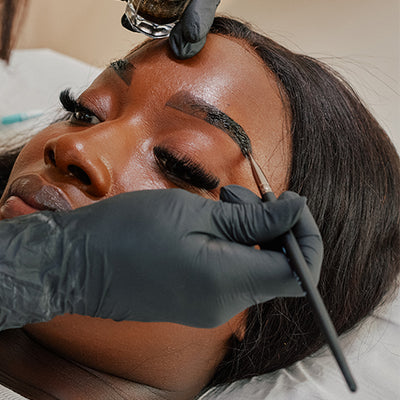
Removing Unwanted Lashes
The next step of the infill process is to remove any unwanted lash extensions that make the overall appearance of the lash set seem messy. These may be lashes that have grown out by more than 3mm or have twisted.
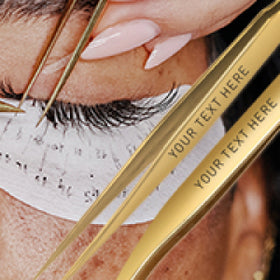
The easiest and quickest way to remove lash extensions is to use the 'Banana Peel Method' with your eyelash tweezers. All you have to do is grab a natural lash in one pair of lash tweezers and the eyelash extension that you want to remove in your other pair of tweezers and gently peel it off of the natural lash.
It may happen that you might have used a little bit too much lash glue and the lash extensions aren’t peeling as easy as they should, but don’t stress! You can still use a small amount of eyelash extension remover directly on the eyelash extension you want to remove to dissolve the lash glue bond and make lash removal easier.
The third way to remove grown-out lash extensions is by pinching the bottom of the eyelash extension to break the lash glue bond between the natural lash and the eyelash extension:
It is always worth talking to your client and asking them how comfortable their lash extensions felt and if thereis anything that they would like you to improve or change this time. The more feedback you get at the beginning, the more efficient you will become andthe quicker you will see progress.
An infill is also a good opportunity for you to check your work and reflect on any mistakes you may have made during the previous set like any stickies or poorly applied lashes that might need to be corrected.

It's Time To Apply New Lashes!
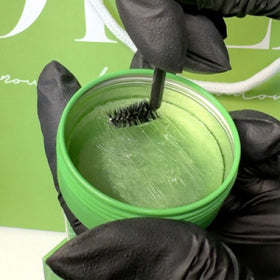
We've reached the final hurdle... but before you start applying new eyelash extensions, remember to apply your Cleanser and Primer pre-treatment to those natural lashes with Micro Fiber Lash Brushes, exactly the same way as you would when preparing for a full set of lashes. You can check out this blog for more information on the perfect pre-treatment routine.
If you're a beginner Lash Tech, then you'll probably feel more confident if you repeat the lash mapping process before you apply the new lash extensions to ensure that you're placing them in the right sections of the lash line. Do whatever makes you feel the most comfortable!
You may often notice during your lash infill appointments that one lash line is fuller than the other. There are lots of potential reasons for that - so don’t panic! Maybe that’s the side your client is sleeping on, or they tend to touch one eye more thanthe other. This is extremely common.
The best technique when dealing with an uneven infill, is to start working on the eye with fewer lash extensions until the eyes are even enough. You can then go ahead and work systematically applying new lashes to both the eyes as you usually would with the remaining time.

Infill appointments can be a breeze with just a bit of preparation and some savvy advice. Remember, communication with your clients is key to ensure that you understand their needs and expectations. By implementing these simple yet effective tips you'll find yourself with smoother, more efficient infill appointments and happier clients all around!